With the Crosby Equilibrium
deglazed and prepped for dye, I tarped everything in the proximity of my little project with plastic drop cloths from Dollar Tree. No matter how careful you may be, black dye goes everywhere. I repeat, BLACK DYE GOES EVERYWHERE. If you so much as sneeze tiny black droplets of dye will migrate places black dye should not be: the dog, the dishwasher, your favorite Oriental rug in the next room... Better to tarp now than cry later.
Tarp it like a potential crime scene. Pretend you're going to thwart CSI. Just do it.
I advocate using painter's tape to protect hardware from permanent dye stains. You can touch up errant dye later with rubbing alcohol or deglazer and a Q-tip.
 |
| I taped off the D rings, nailheads and stirrup bars with painter's tape to avoid permanent stains. I trimmed around the tape on the nailheads
with a razor blade, close as possible. |
Dyeing the Saddle Black with Oil-Based Dye
I've learned I get
better results with basic colors using oil-based dye.
With alcohol-based dyes, you often get a green or purple tint, particularly in areas with the heaviest application. With oil based dyes that normally doesn't happen. While oil based dyes are slightly more expensive they're also more economical, since they offer better coverage and superior color to less expensive alcohol-based dyes.
I used tried-and-true
Fiebing's Professional Oil Dye in Black. Simple as it gets.
Wearing long latex gloves, I applied the dye with very small rags made from an old polar fleece hoodie. I covered one area at a time with small, circular motions, making sure to rub the dye in thoroughly as I went. The dye penetrates very quickly, so with anything small and simple as most English saddles it isn't a particularly long process.
 |
| Fiebing's Pro Oil-Based Dye and the synthetic artist's brush I use to dye hard-to-reach areas. |
In tight areas, like around the stirrup bars and the raised binding, I used a synthetic artist's brush to get in the little crevices. The dye is thin and runny, so coverage in tight spaces is relatively easy - control is the hard part.
I lined a cardboard box with plastic to contain drips while holding the saddle in an inverted position for easier access to the panels. Even so, quite messy. Plastic
dropcloths are your friend.
 |
| Already darkened using vinegaroon, the Crosby Equilibrium flaps and panels still took 3 coats of Fiebing's Professional Oil Dye to achieve a
consistent true black color. |
I used almost a full 4 ounce bottle of black oil dye to apply 3 coats. Had the saddle not been pre-stained to a dark color, the amount of dye required on its splotchy-colored aged leather would likely been considerably more.
Remove Excess Dye
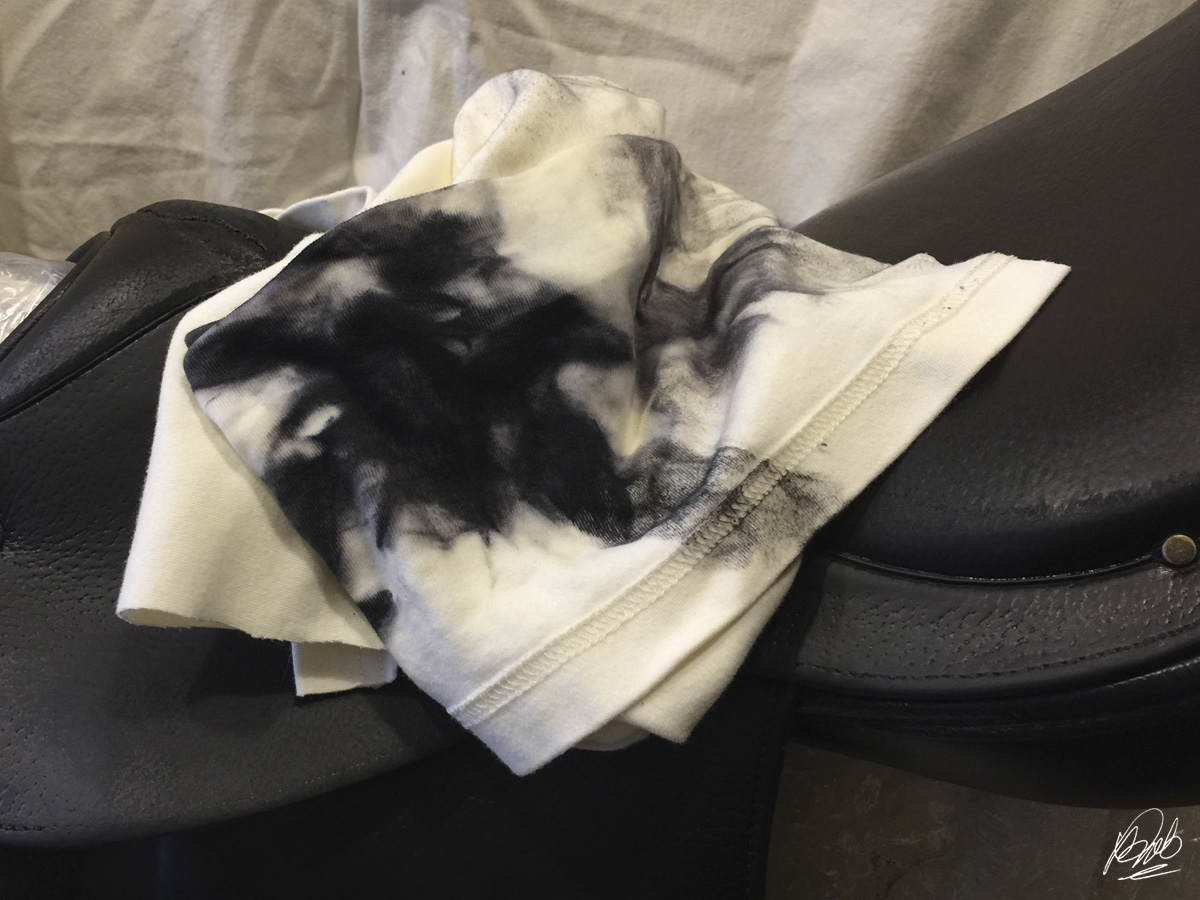
Next, I had to remove the excess dye from the every surface. This required sacrificing multiple white T-shirt rags from my stash, since the black dye ruboff was horrendous. I got each rag just barely damp, rubbed and rubbed, changed rags, rubbed some more, for what seemed like infinity. Actually, I left the saddle on a chair in the kitchen for a day, and every time I walked by I'd grab a rag and start rubbing. This was by no means a single session venture.
 |
| If you're committed to
the idea of dyeing old, non-black leather black, expect to invest some time rubbing off excess dye. It will seem endless. |
The seat area proved problematic because the black dye had not penetrated the coated leather very well. No matter how much I rubbed, black dye continued to shed in a way that indicated it would be a permanent problem.
Dyeing the Seat
My solution came in the form of several posts on designer (read: expensive) handbag forums, of all places, about a product called
Tarrago Self Shine Color Dye. Supposedly, Tarrago Self Shine Color Dye dye permanently changes any color smooth leather - even black to white. Well, permanent sounded good, and the numerous before and after photos on the handbag forums looked encouraging. With nothing to lose, I ordered a Tarrago Self Shine Color Dye kit in #18 Black. For under $10 you get a boxed kit of dye preparer, a brush, a sponge, and a small bottle of dye.
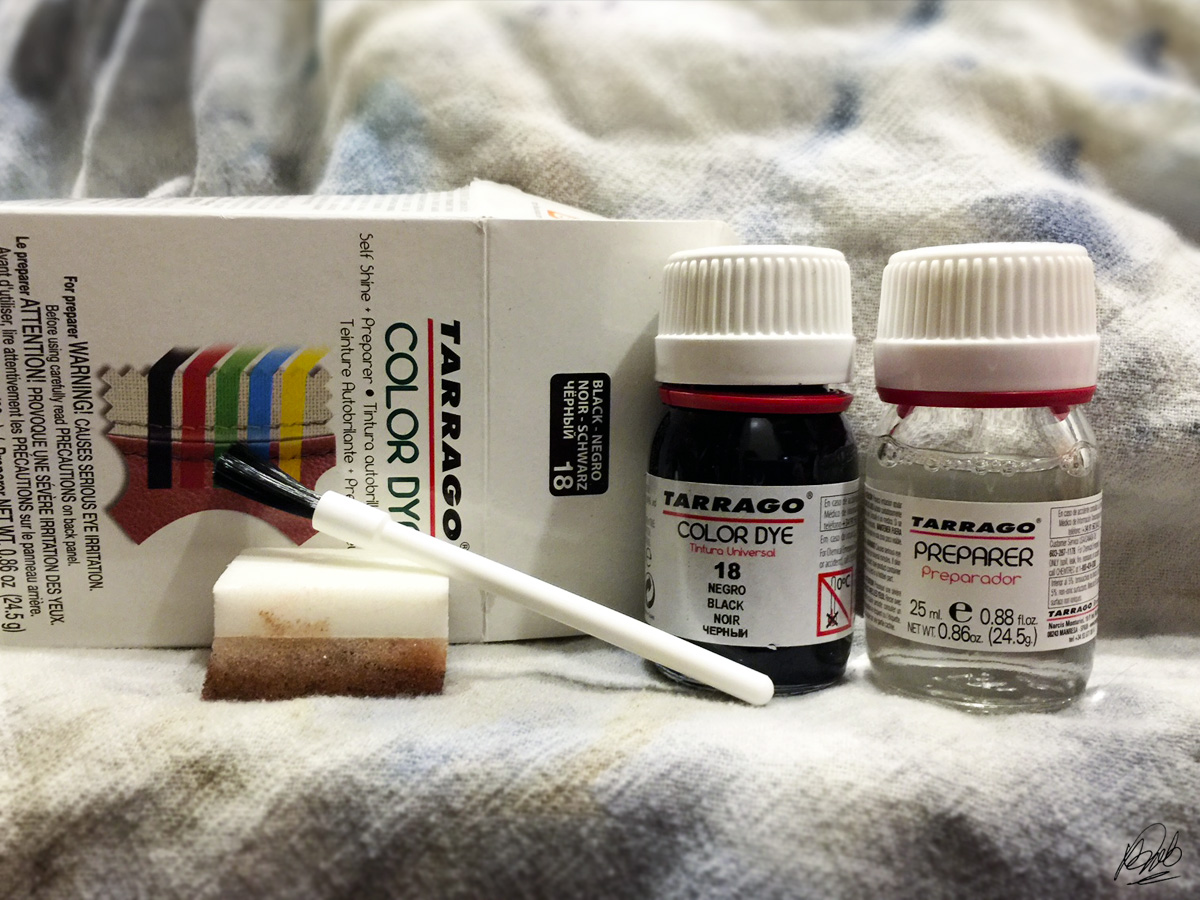 |
| Tarrago Self Shine Color Dye kit in #18 Black |
I wiped the already-dyed seat thoroughly with the kit's dye preparer, let dry, then applied the Tarrago Color Dye in circular motions with the tiny sponge applicator. It could not have been easier, seriously. Though the bottle of dye is very small, it takes very little. I probably only used a total of a couple eye dropper-fulls to cover the seat completely.
Two coats of Tarrago Self Shine Color Dye later, the seat was a glossy, true black. After allowing 24 hours to dry, the finish felt somewhat plasticy, but would not rub off despite attacking it vigorously with a rag. For that matter, the old seat had felt plasticy, and it had lasted more than 30 years. Regardless, it was a marked improvement over the oil dye finish that had not penetrated the seat leather very well and promised a lifetime of ruboff. Maybe those folks on the handbag forums were on to something!
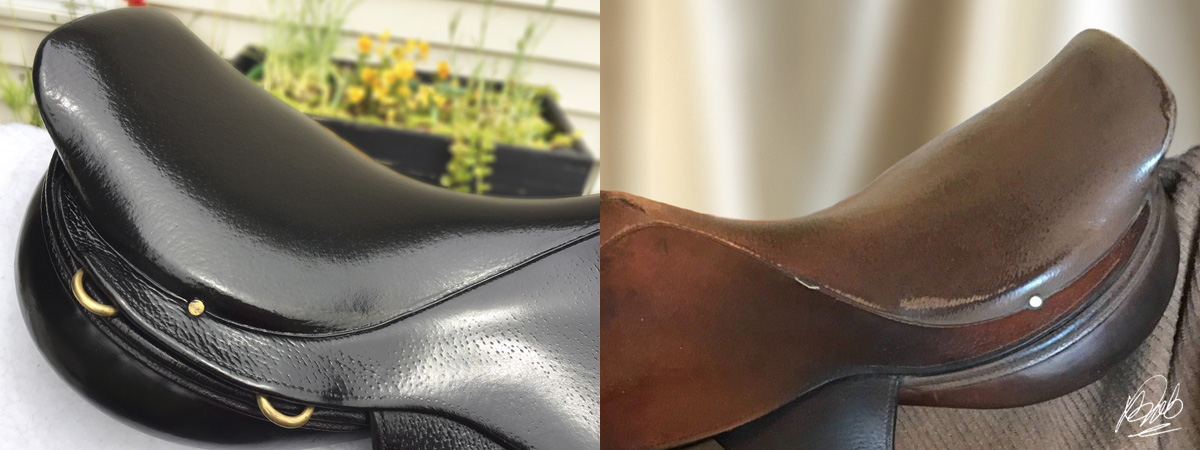 |
| Tarrago Self Shine Color Dye (left) and original seat finish (right) |
Before sealing the dye job with
Resolene
clear finish, the saddle needed a deep conditioning. I busted out some heavy duty stuff:
Effax Lederbalsam.
Condition Before Resolene
I went at it with Effax, a couple coats rubbed in by hand, and the saddle began to glow with happiness. After 3 coats of oil-based dye plus Effax Lederbalsam, the leather from stem to stern was soft as butter, probably for the first time in years.
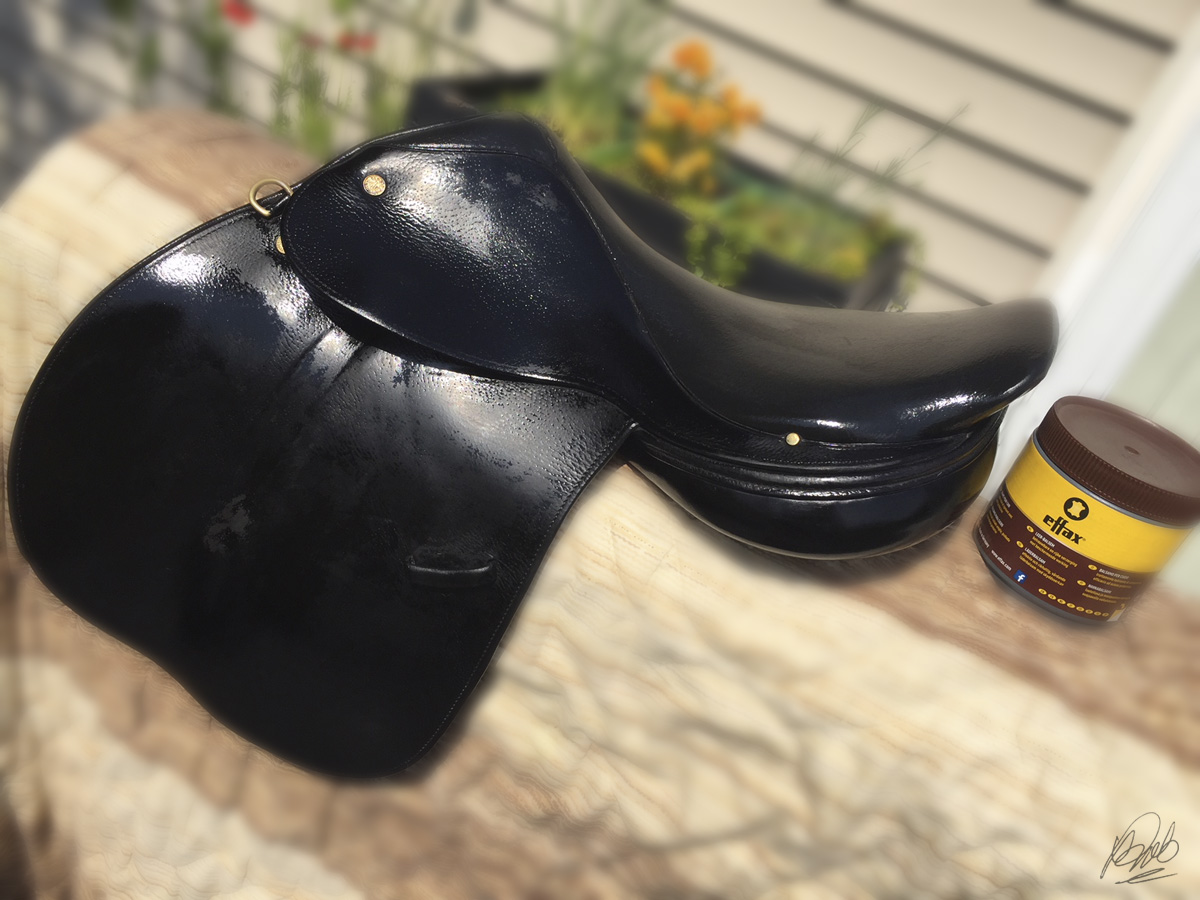 |
| After rubbing in Effax Lederbalsam, I left the saddle outside in the warm sun to soak it up. |
I spent a fair amount of time rubbing the saddle surface clean of excess Effax, as it tends to leave a protective coating that would inhibit the Resolene sealer from bonding. Once the surface felt "clean" to the touch, it was time to apply
Resolene.
Seal It With Resolene
Resolene can be tricky to apply, since it tends to streak as it dries, and light coats will dry quickly at room temperature. I've found using a very soft 1" flat synthetic art brush on saddles works well and makes blending areas easier than a dauber or rag.
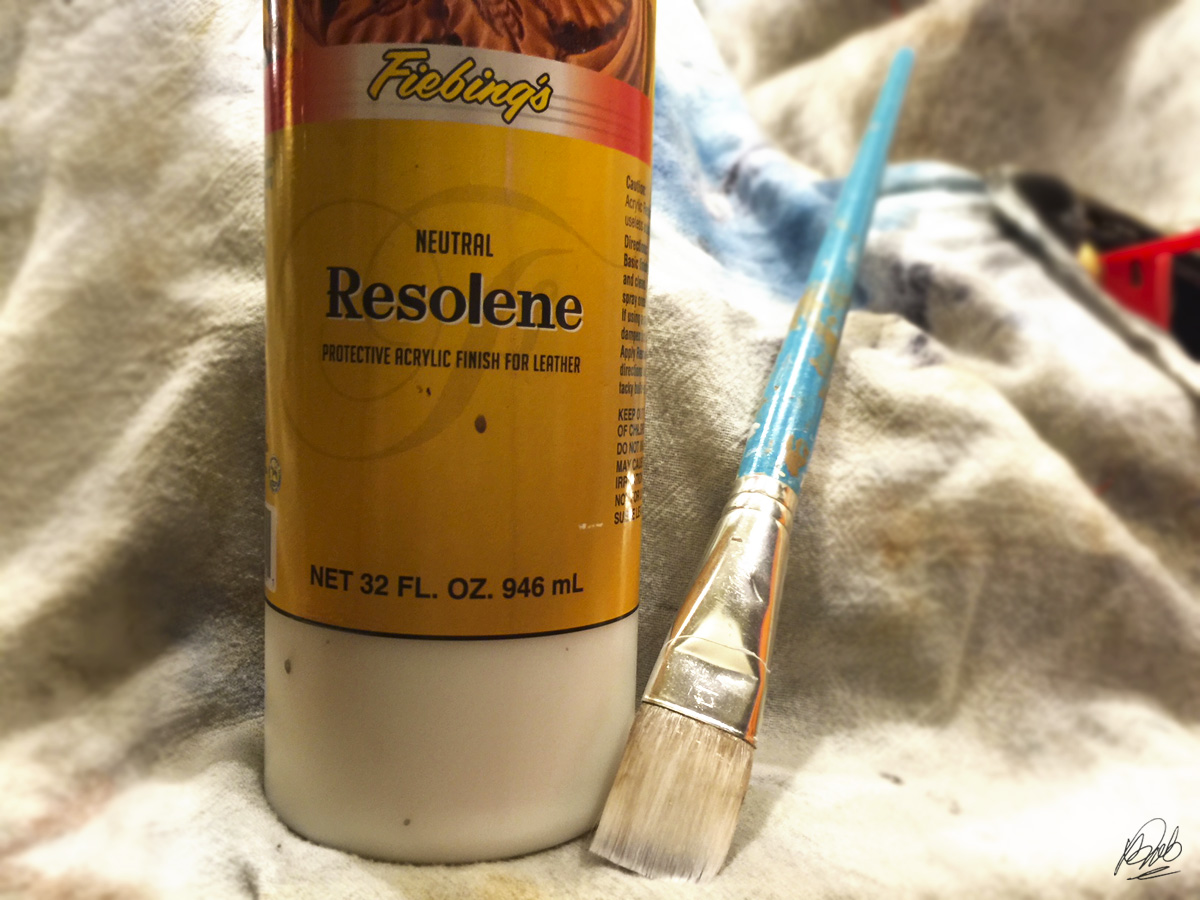 |
| I apply Resolene to most tack and saddle leather using a very soft 1" acrylic paint brush. |
I let the first coat of Resolene dry overnight, then evaluated trouble spots the next day in better lighting. The second coat of Resolene was much more uniform. When the Resolene was completely dry, I was delighted any hint of ruboff was over. Problem solved!
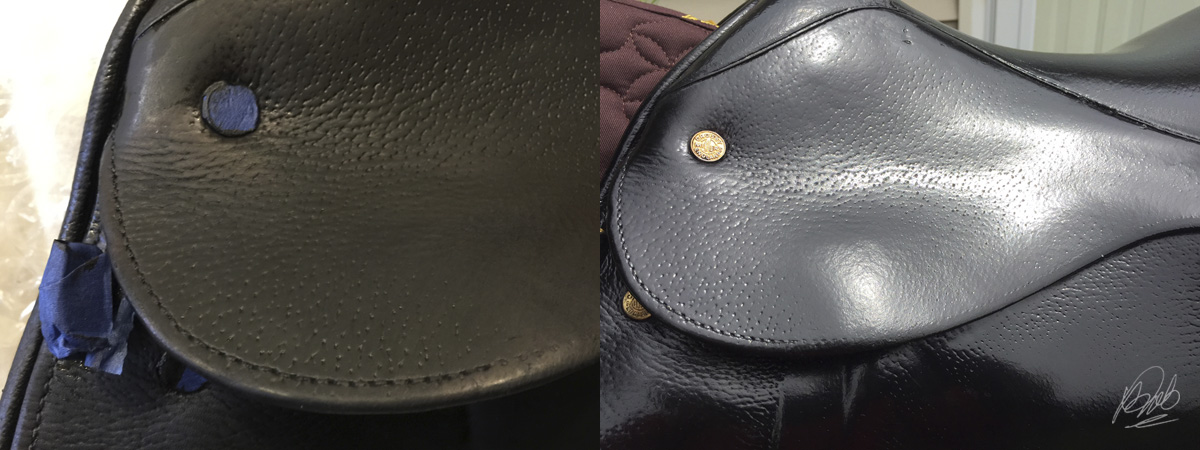 |
| Compare area without Resolene, dull and gray looking (left), and after (right) Resolene makes the dye color deep, rich and shiny. |
Happily Ever After
If I had any reservations about dyeing the Crosby Equilibrium black before, I was more than happy with the result. What began as an iconic saddle whose best days appeared to be behind it, ended with a stunning piece of saddlery that glows with new life.
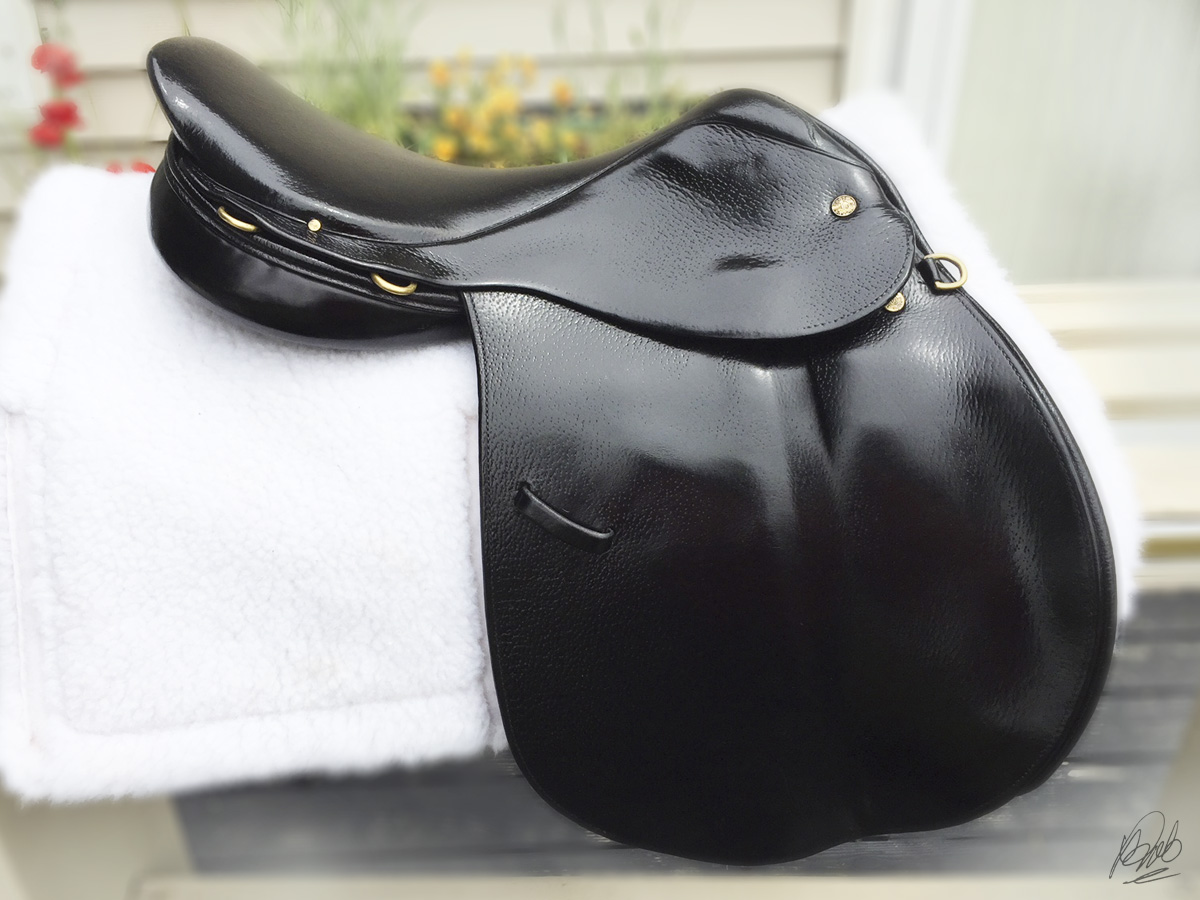 |
| After dyeing and applying Resolene the old Crosby is fit and foxy again. Another successful refab! |
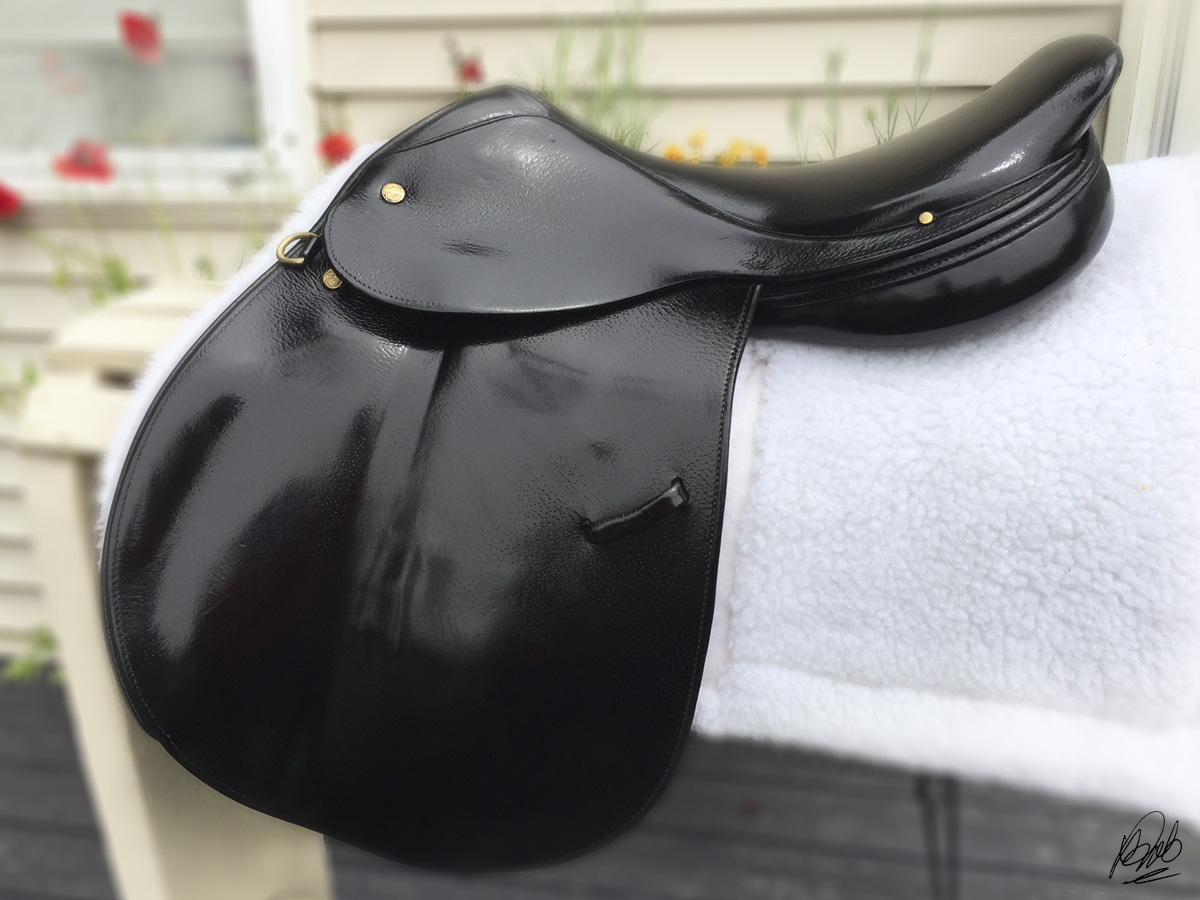 |
| Pure, true black, and best of all: No ruboff! Even the seat leather dye was stabilized. |
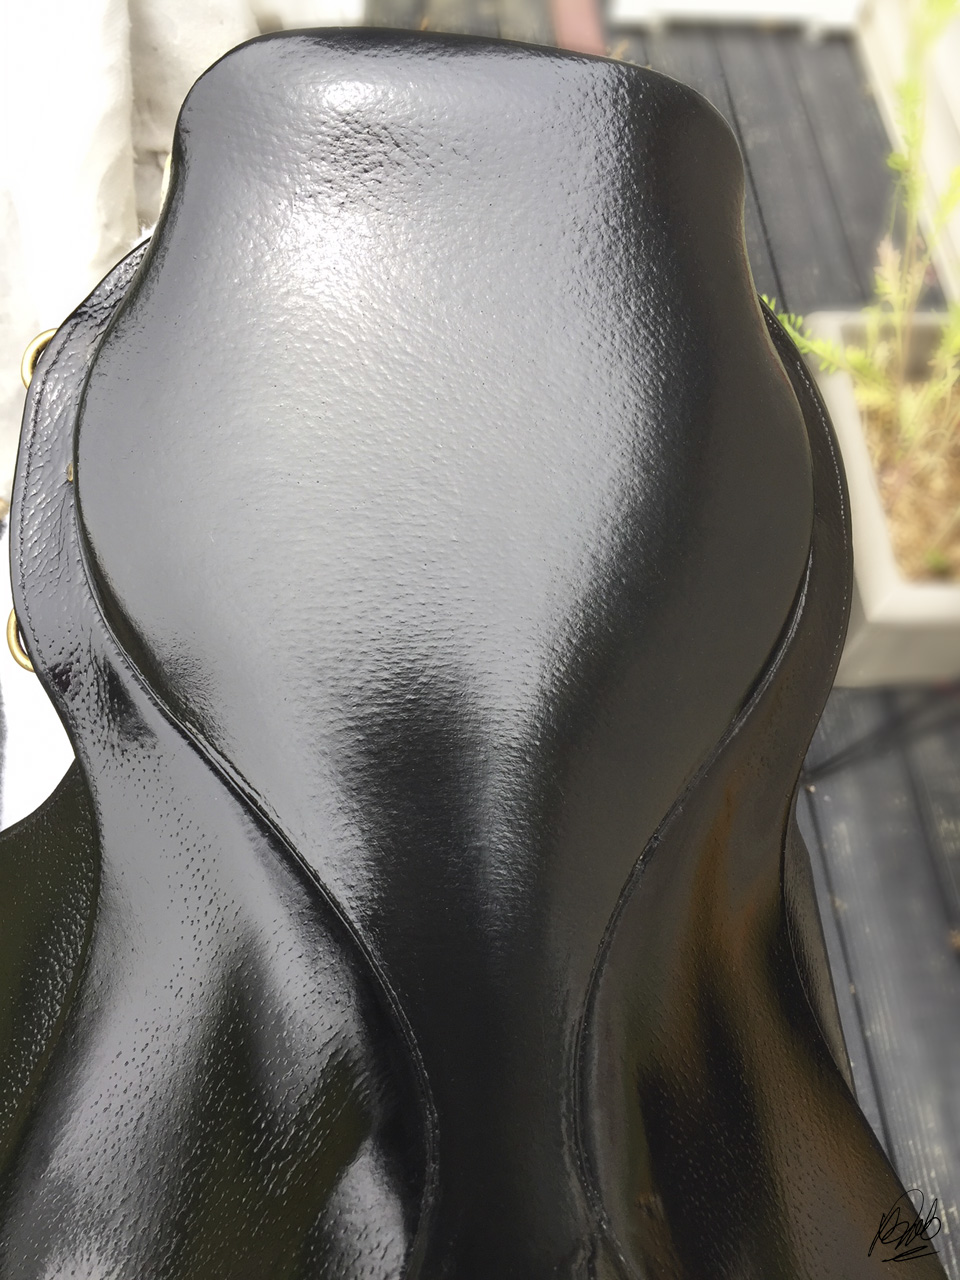 |
| The problem seat leather was dyed with Tarrago Self Shine Color Dye in #18 Black. Time will tell, but the dye appears to have excellent cover and adhesion. |
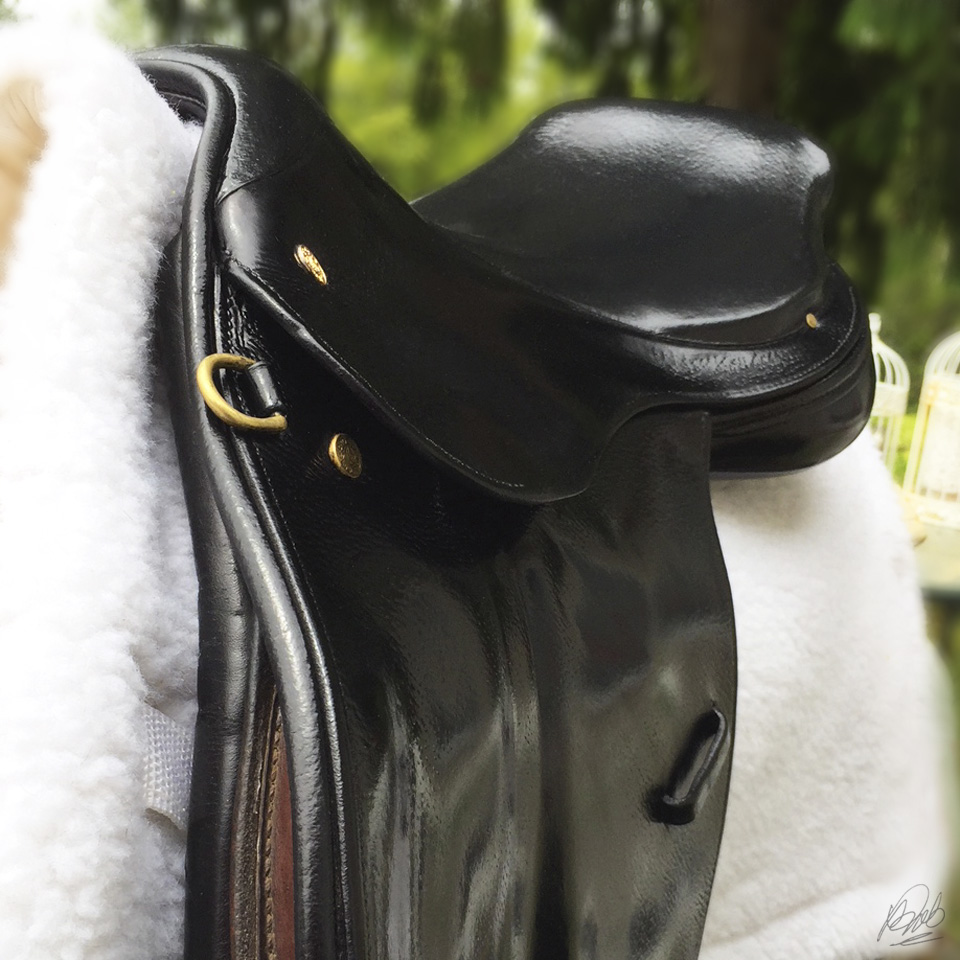 |
| The end result was beautiful, buttery soft, conditioned leather. A little TLC (and assistance from reliable products!) goes a long way. |
SIMILAR ARTICLES


Post a Comment