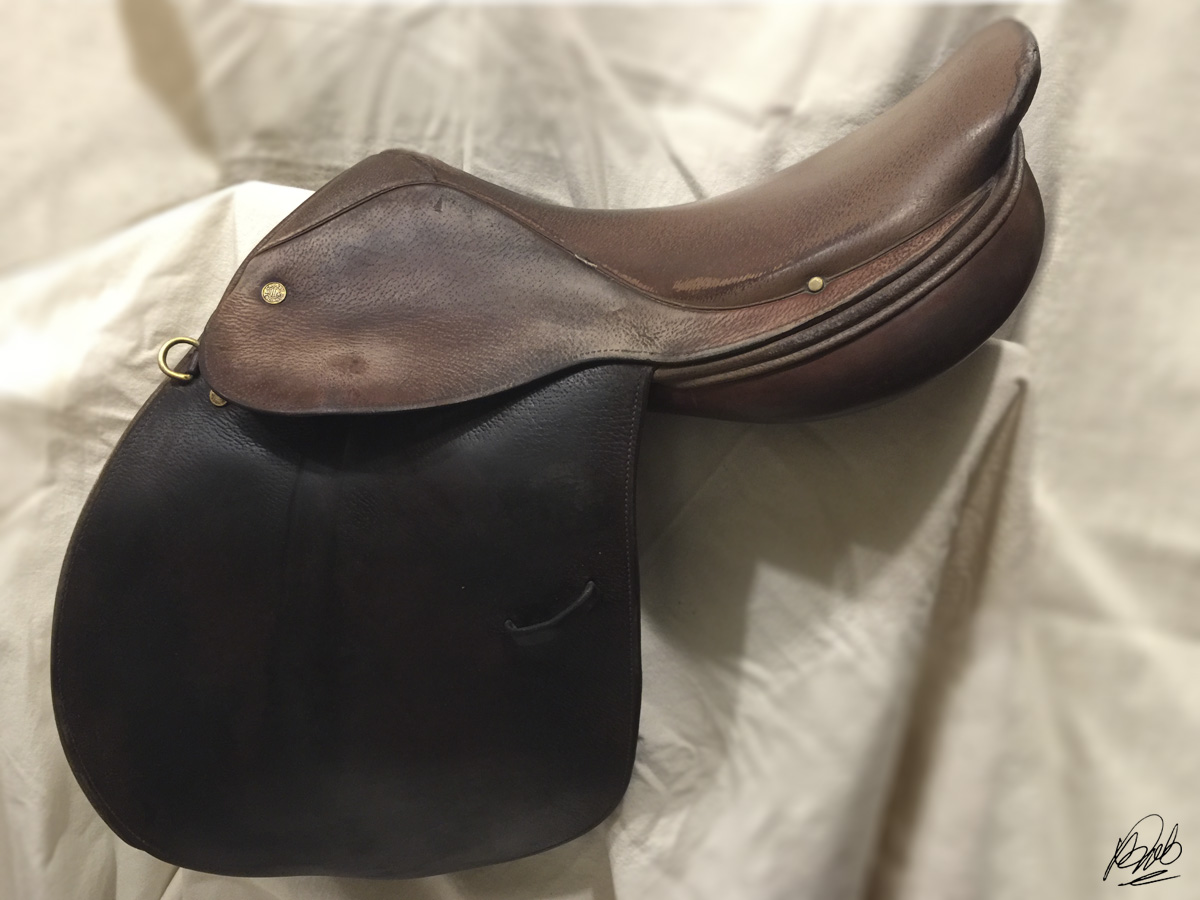
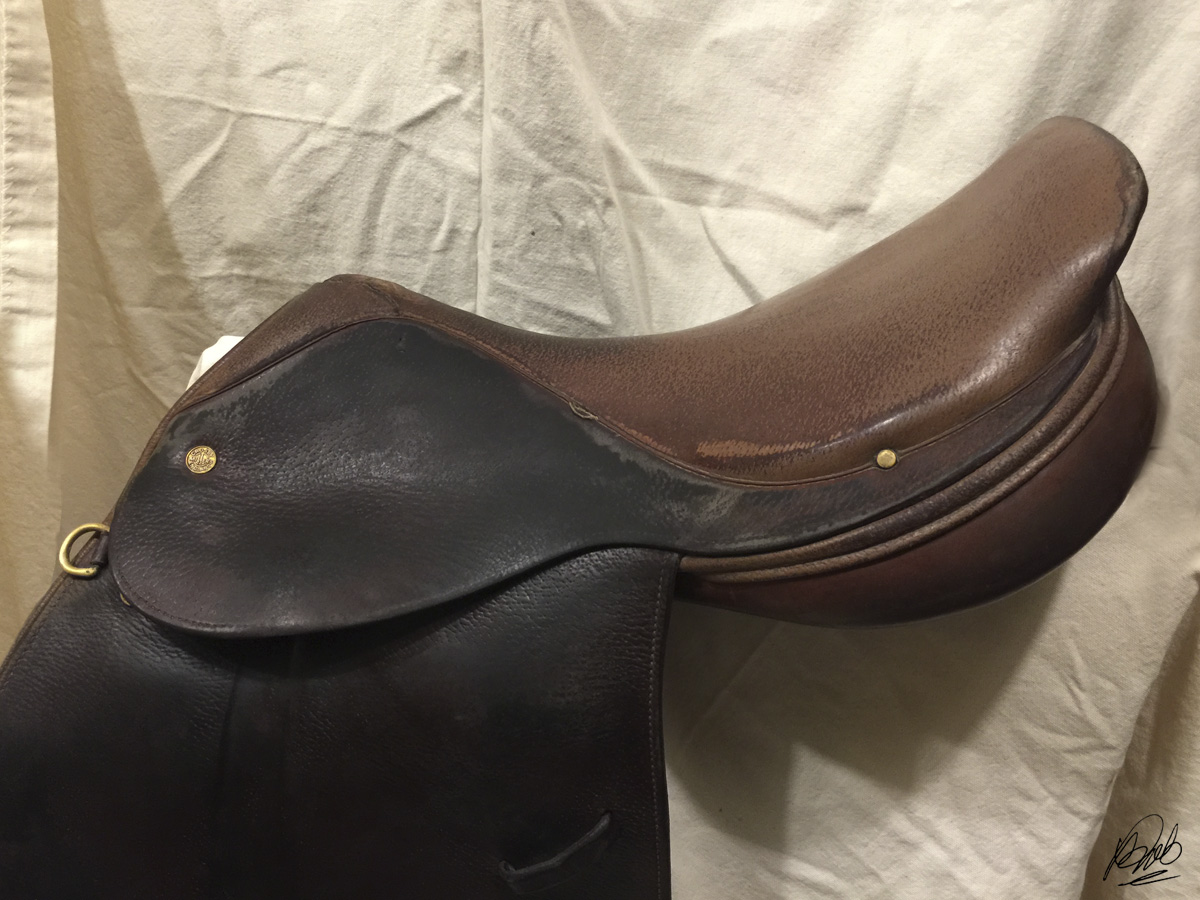
There's a big difference between adding color back to a saddle that was originally black compared to one that was not. In one case, you're matching an existing color, where the leather was dyed through-and-through black. In the case of the brown Crosby, it was never anything close to black in its heyday. Most likely, the Crosby Equilibrium was originally London Tan or Newmarket, if the plasticy finish on the seat was any indication.
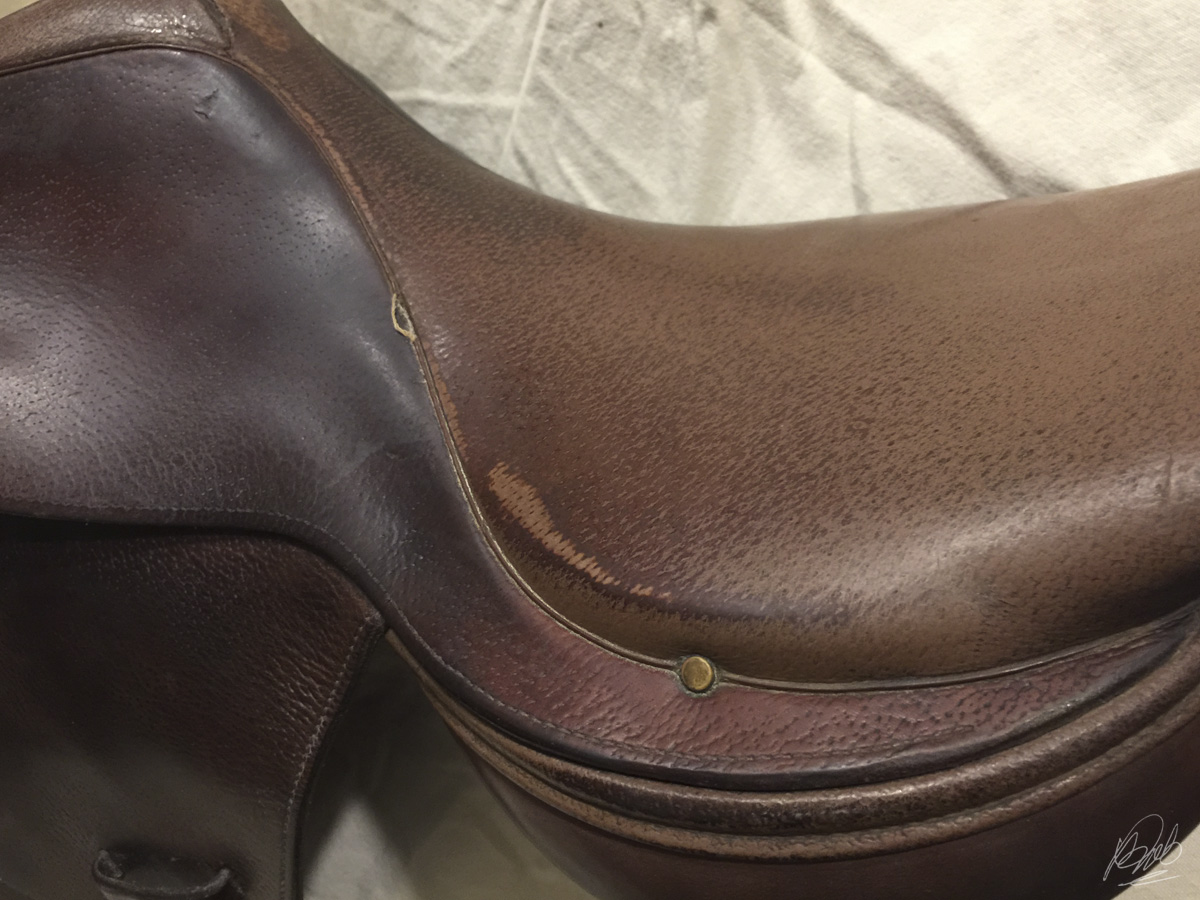 |
| Whatever coating Crosby used on some of their old seat leather, it was certainly durable. It laughs in the face of deglazer. |
Hey, if Crosby did it during the Cretaceous period, why couldn't I?
Stripping the Old Finish
No matter if you're restoring an existing color with dye, or changing colors completely, the first step is to remove the old finish. The most common product for this is called deglazer, made especially for smooth leather. Deglazer also dissolves old coatings, soaps and oils that would inhibit dye from penetrating evenly.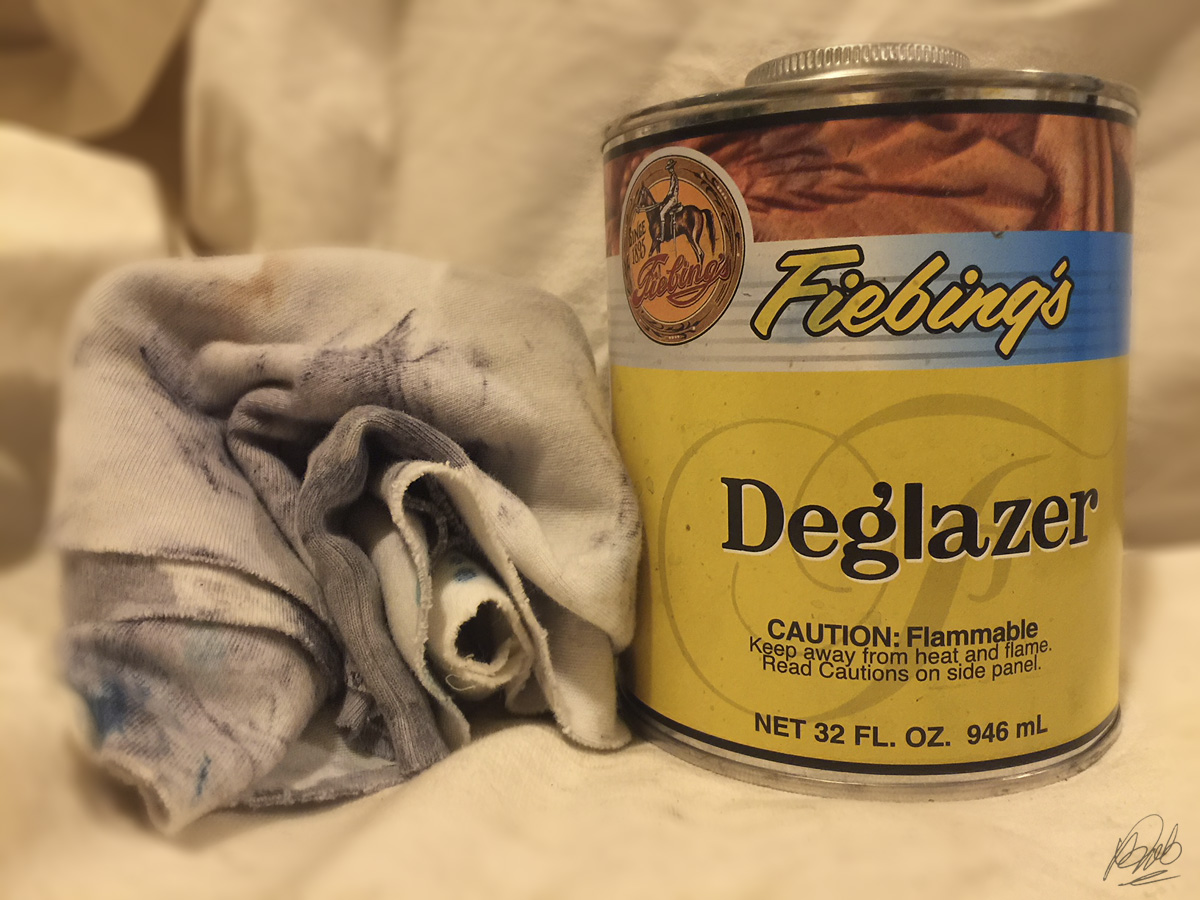 |
| I apply Fiebing's Deglazer with a pure cotton rag. I purchase the larger economy size, but it's also available in 4 ounce bottles for smaller projects. |
Especially in areas under the stirrup leathers or a seat that's been worn smooth from hard use, I use deglazer to open up leather fibers that have become compressed/tight/smooth and consequently more difficult to dye. Those areas typically take a few applications of deglazer.
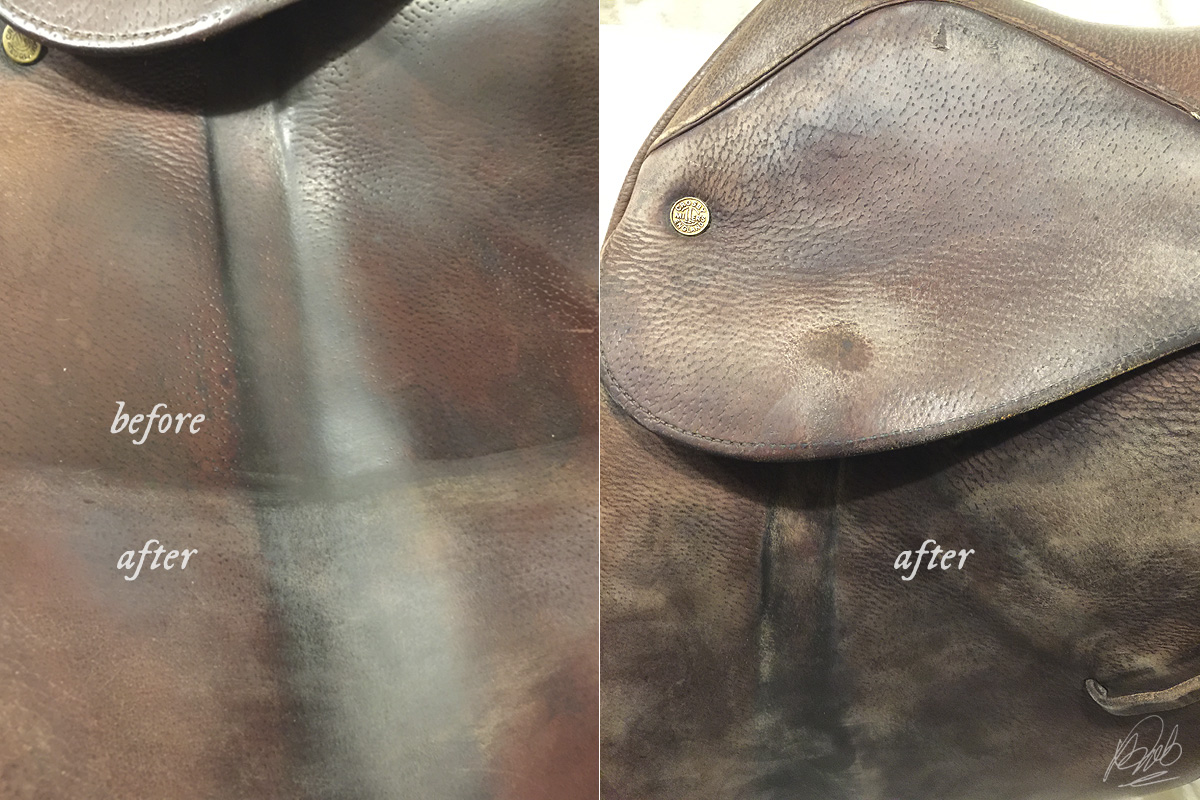 |
| A couple more sessions with deglazer, and it looks like a huge mistake that can never be salvaged. |
Base Coat of Black with Vinegaroon
Before dyeing, I wanted to put down a base color of "black" using using vinegaroon. Vinegaroon works by reacting with the natural tannins in the leather, turning the leather darker. Ideally, it turns the leather black, but results vary from gray to dark brown to black depending on the type of leather, the original leather color, the strength of the vinegaroon, and how completely the vinegaroon can penetrate. One of the biggest benefits of vinegaroon over traditional dyes is it colors the leather from the inside out, meaning it's permanent and does not rub off.Frankly, vinegaroon works best on untreated, natural leather, or leather that was black to begin with. Old saddle leather isn't always the best candidate for vinegaroon because it may already contain dyes and oils that prevent a complete color change. I had removed so much of the old finish on the Crosby with deglazer I felt vinegaroon could deepen my target true black color. I did not expect it to turn black with vinegaroon alone.
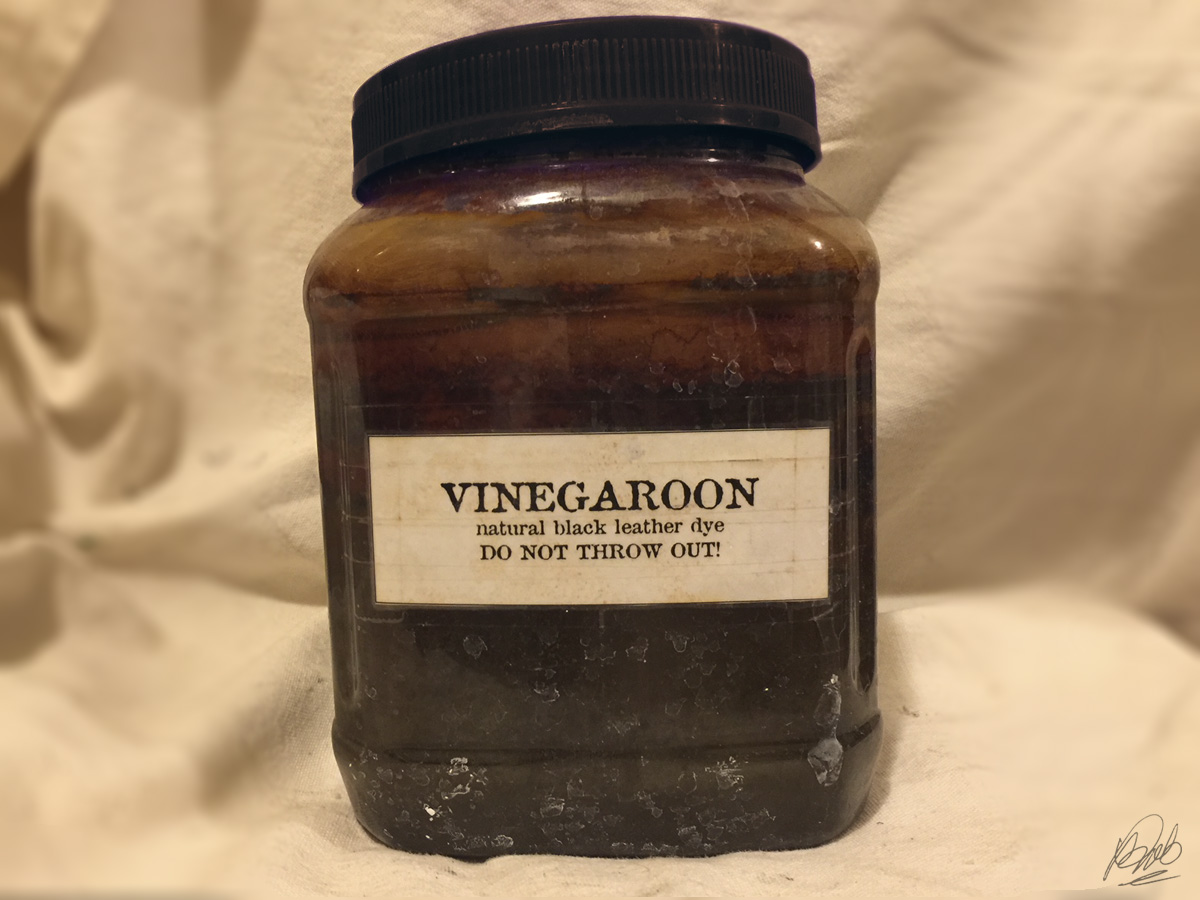 |
| I keep homemade vinegaroon under the sink with a little disclaimer not to throw out, despite its nasty appearance! |
 |
| Left panel deglazed only. Right panel deglazed, then darkened with first application of vinegaroon. |
Eventually, the vinegaroon turned the a fairly uniform near-black color. This would have taken several days and coats of traditional black dye to accomplish, with all kinds of buildup that would inevitably result in years and years of rub-off.
Neutralize After Vinegaroon
After the final application of vinegaroon everything gets bathed in a solution of baking soda dissolved in water to neutralize the vinegar chemical action and reduce the offensive vinegar odor. Afterwards, rinse, rinse, and rinse some more with clean water.With the vinegaroon neutralized and the leather rinsed clean, I left the saddle to dry completely 24 hours before going to the chemical leather dye step.




Post a Comment