>
Showing posts with label Projects. Show all posts

Triple Goodness: Pears Soap, Passier Lederbalsam, Leather 'N' Rich

September 15, 2018
After recently pilfering my mom's tack room, I returned with some of forgotten treasures in need of a little attention, restoration and rehab.

Seeing a heap of leather that needs cleaning and conditioning can seem overwhelming, but if you attack the pieces a little at a time, it will get done. You figure, maybe a half hour a night while watching television or listening to a podcast as a distraction, the task doesn't seem as daunting.

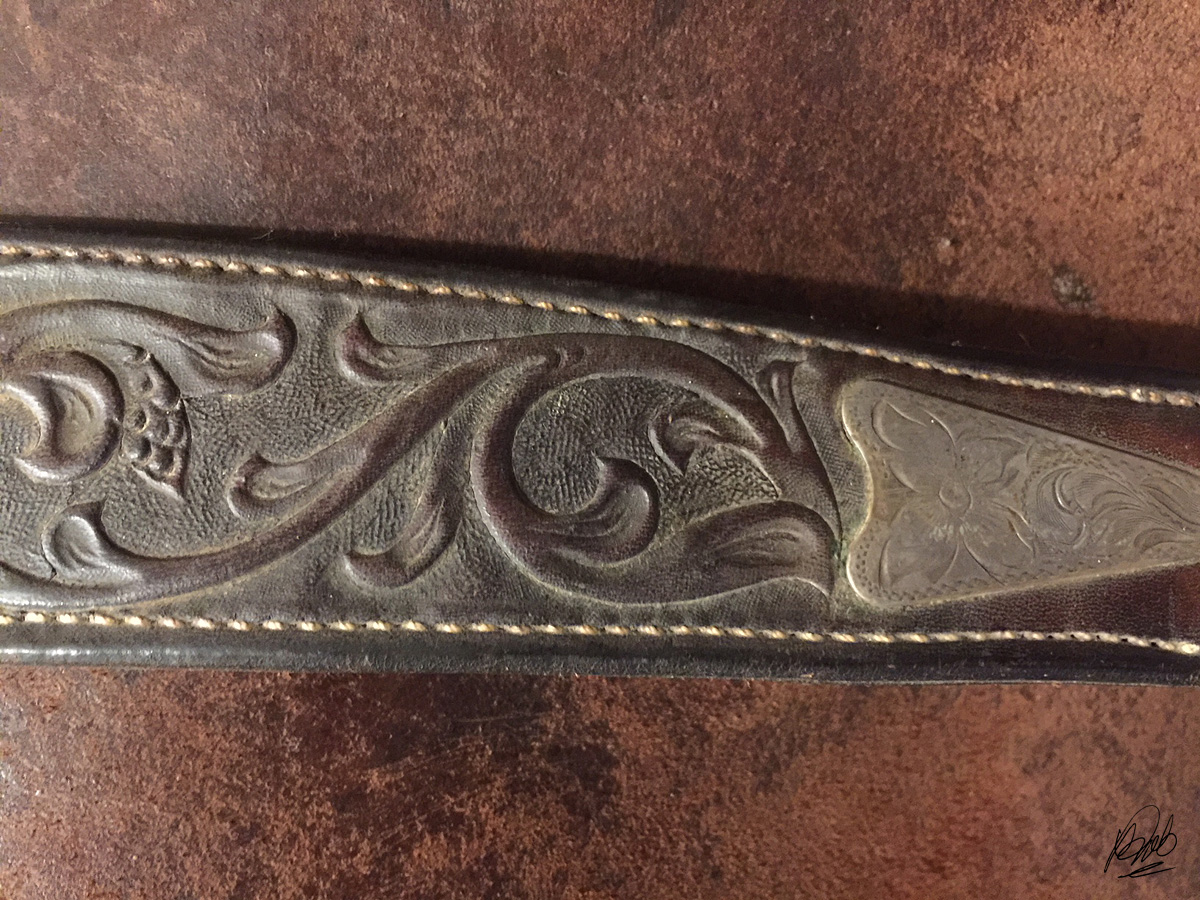
One piece in particular, an old tooled breast collar with some sterling trim, was particularly neglected. The back side was dry, cracking, and had layer upon layer of old sweat and dander.
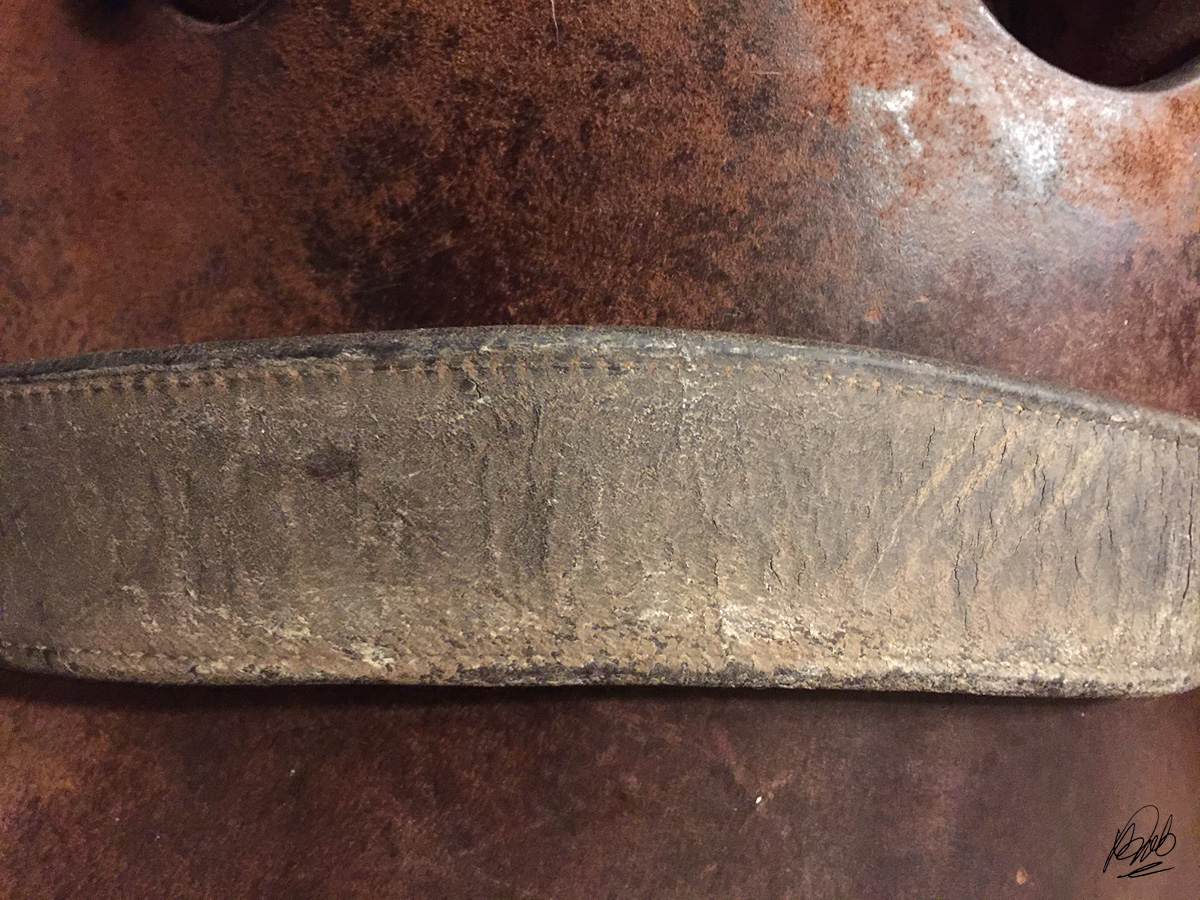
Heavy duty dirt, sweat, and superficial cracking of the breast collar leather required deep cleaning.
No, this is not a job for something generic like Leather New, although in the case of neglect, anything - even Leather New - is better than nothing. To get the deep down dirt off and clean out all the little cracks and crevices, I reached for my go-to handy, dandy, baby-soft toothbrush and Pears soap.

After getting the leather good and wet with lukewarm water in the sink, I very gently scrubbed with Pears soap, rinsing each area thoroughly afterwards. A tack sponge would work almost as well as my softie toothbrush, but I wanted to be sure I got in between the tooling and the multitude of cracks that had developed to remove every last trace of filth.
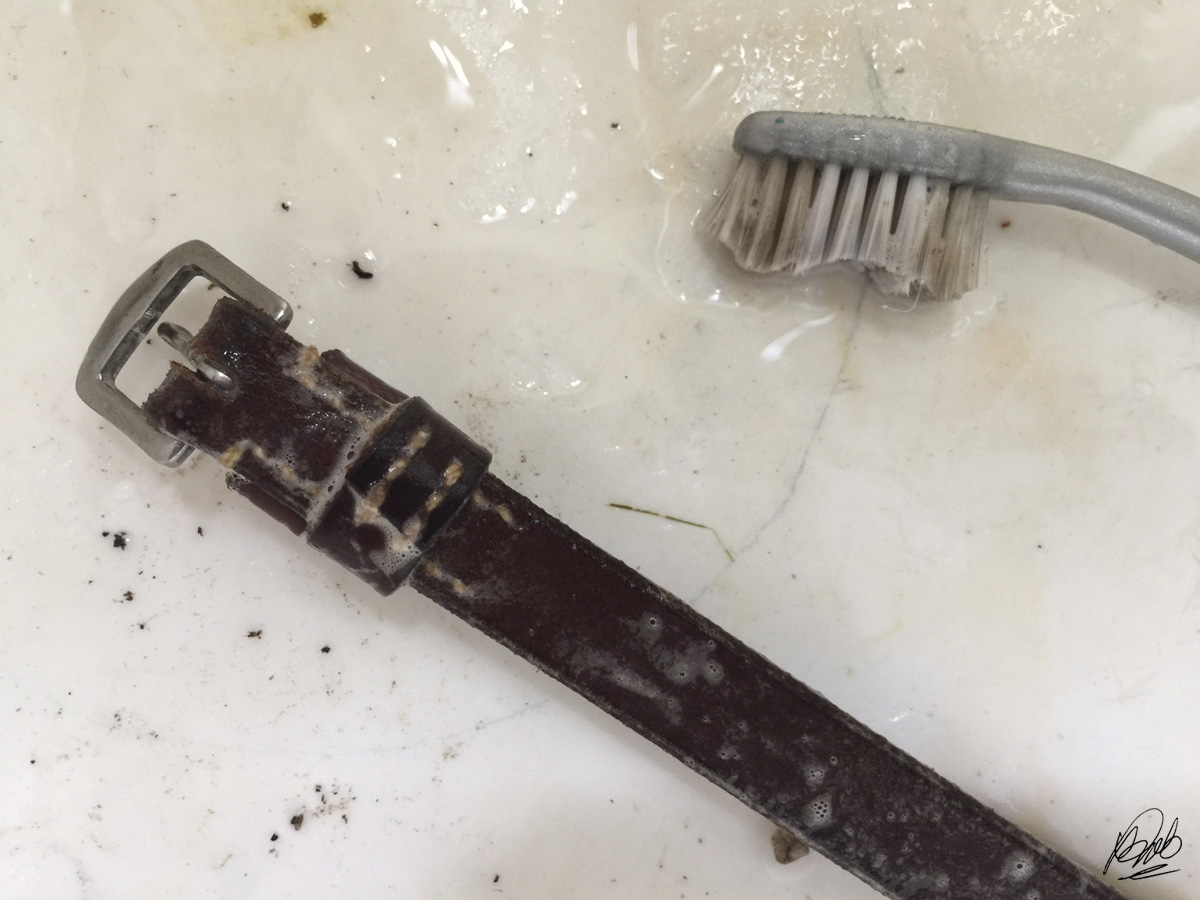
Pears Cuts Through Horse Dander
Pears soap, water, a soft toothbrush, microfiber rag and your fingers can remove sweat and grime from dirty leather. Care must be taken when leather is wet to avoid scratching or stretching.
Trust me, mud came off with the consistency of shaving cream. Pears soap and water really cleans!

Time cleaning: 10 minutes.

After the leather was rinsed clean, I patted dry with a towel and put down an extremely light coat of Passier Lederbalsam with my fingers. It's been my experience that distressed leather can sometimes dry to an almost nubuck texture after being wet and "supercleaned," and the Lederbalsam seems to keep the grain tighter and smoother as it dries.
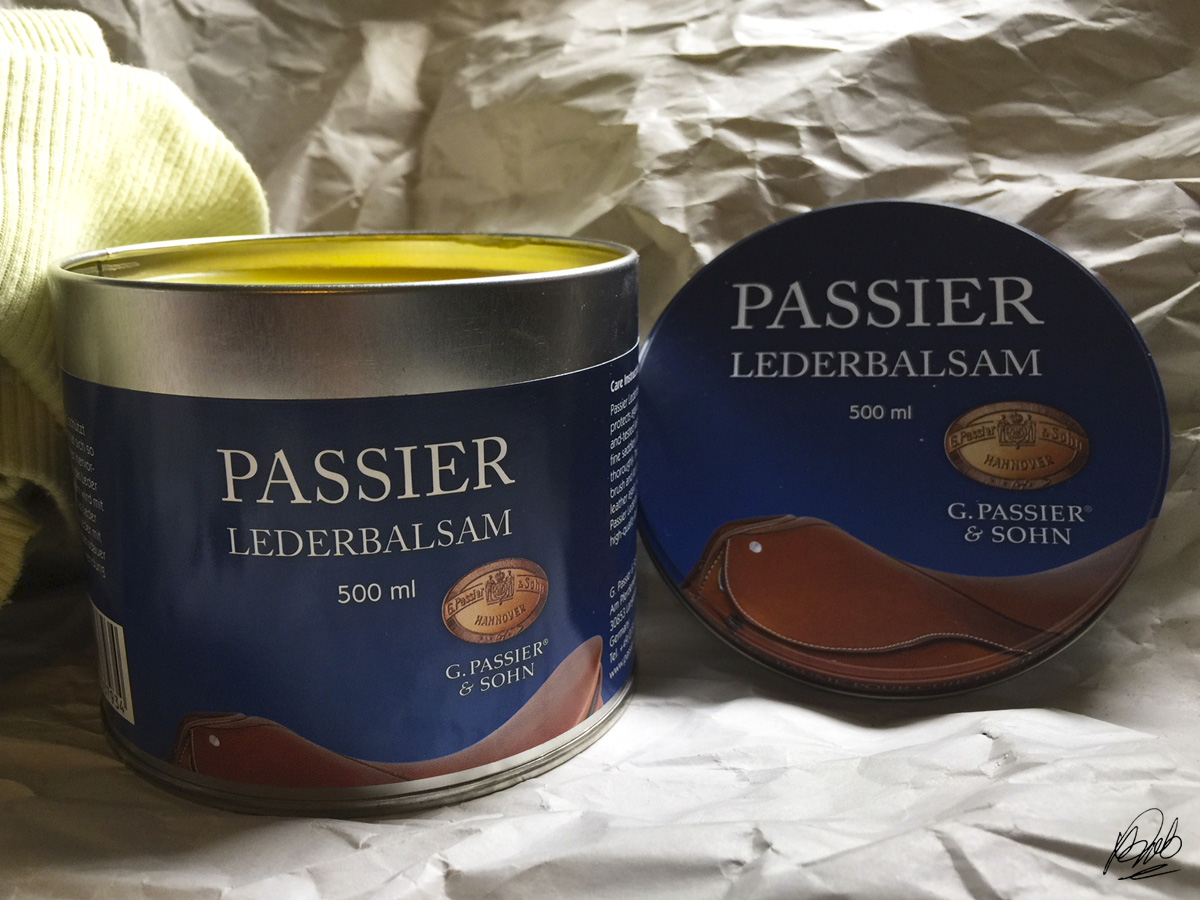
Passier Lederbalsam
Pat dry, light coat of Passier Lederbalsam: 5 minutes.

I left the breast collar to dry flat on a towel overnight, then rubbed a total of three coats of Lederbalsam in by hand, both front and back side, allowing each coat to penetrate completely and wiping with a soft cloth between coats.
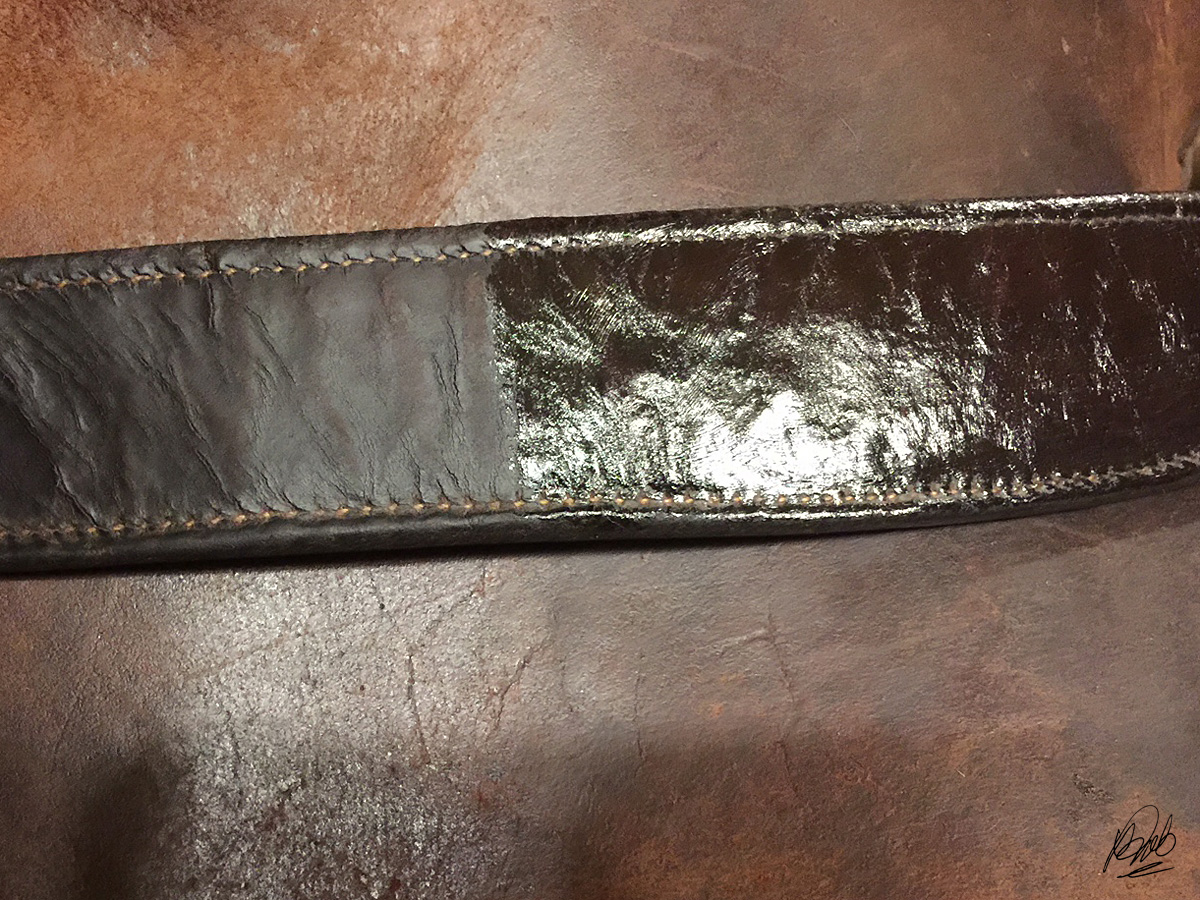
The back side of the breast collar absorbed the first coat of Lederbalsam in record time. Cleaning the leather thoroughly beforehand removed damaging dirt and sweat and allowed the conditioner to penetrate deeply.

After just one application of Passier Lederbalsam, the tooled side of the leather is already beginning to appear moisturized, supple, and the color restored.
Three coats of Lederbalsam, buffing in between: 15 minutes.

The conditioning effects of Passier Lederbalsam are legendary, and the breast collar was no exception. The leather had become supple, richly colored, and the areas with previous cracking much more flexible and nourished feeling. While no leather conditioner can repair cracked leather, conditioned leather is much stronger and less prone to additional cracking and damage. Particularly with vintage leather, keeping the leather conditioned is paramount to its longevity.

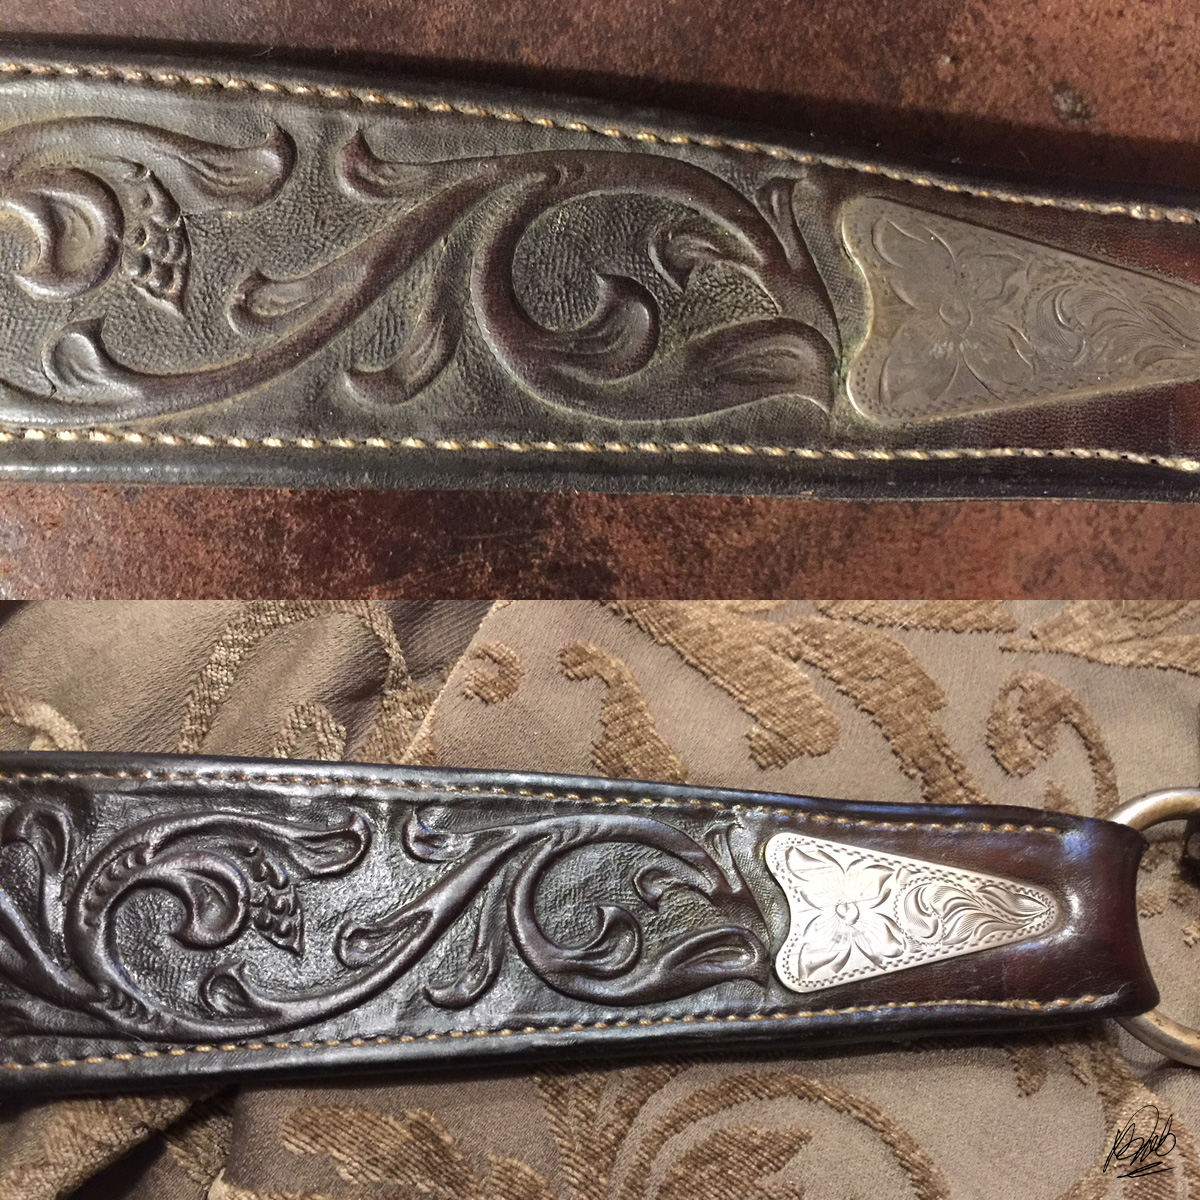
After 3 applications of Passier Lederbalsam, the leather became supple and glowed with the effects of a thorough conditioning.
The breast collar had a very natural low gloss from the Lederbalsam, but I know after a day or so the finish tends to revert to matte. To enhance the tooling and preserve the appearance, I broke out my secret weapon: Blackrock Leather 'N' Rich.

When I want something to look fancy, fancy, fancy, but don't want the more artificial appearance of a topcoat or wax, Blackrock Leather 'N' Rich performs like no other.
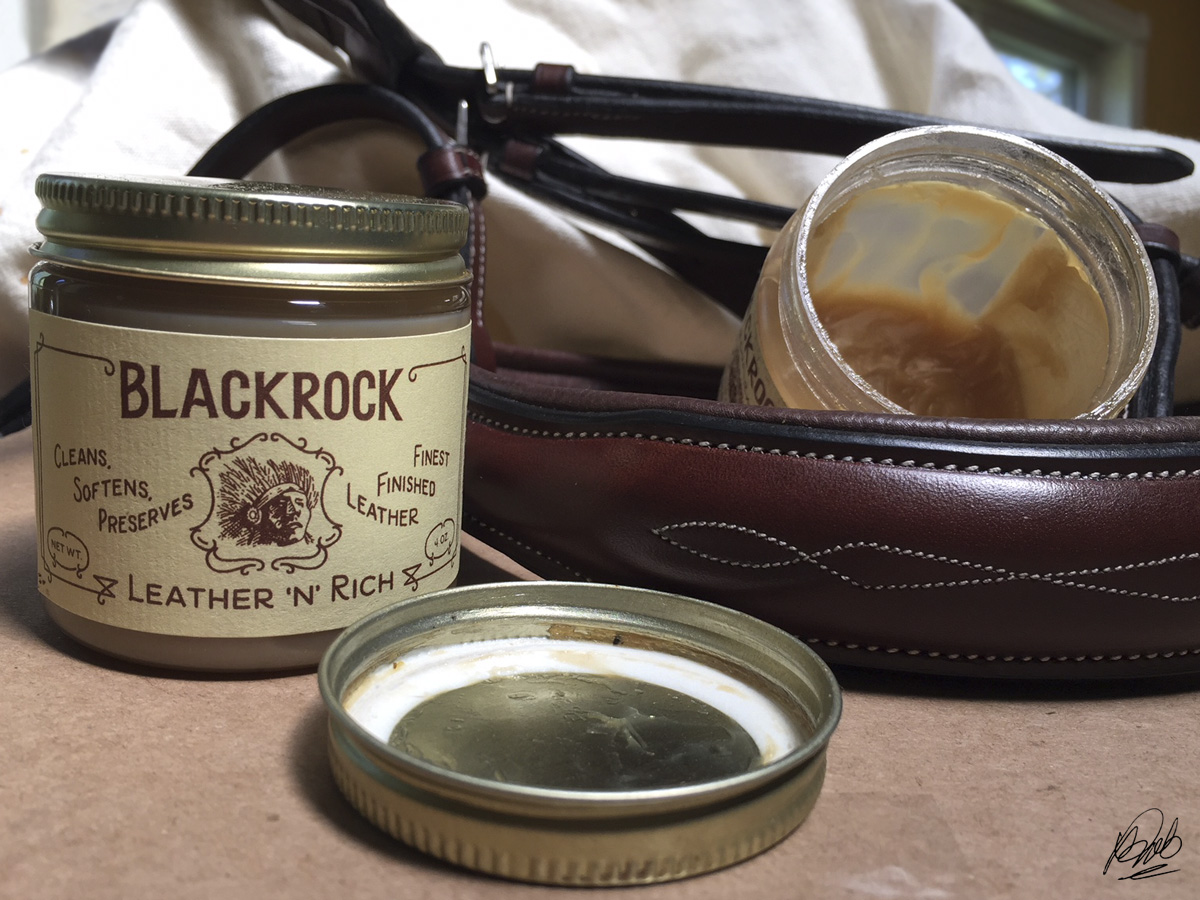
Blackrock Leather 'N' Rich gives a nice sheen to fine leather, enhancing its natural colors with an almost HD effect.
Certainly, Blackrock can be a little tricky to use. It takes a bit of finesse to get the right effect and can work against you if used incorrectly, but it delivers results nothing short of amazing. When people ask how I make my collection pieces look so good, or how to make their "good" tack look brilliant, I enthusiastically recommend Blackrock. And trust me, if it didn't work, I'd use something else. I have zero loyalty to products that don't perform.

Blackrock is sticky, and a little goes a long way. For this reason, I only apply with my fingertips, and very lightly at that. Even the thinnest coat over already-conditioned leather is sufficient. Once I've rubbed it in, I step back and leave it alone.

I've learned the hard way - don't touch! No soft towels. No buffing. Nothing.

When it no longer appears wet, I'll rub over the surface with my fingertips to smooth the finish and enhance the gloss, and that's it. I'm done.

Blackrock finish time: 10 minutes.

If applied correctly, there's no excess sticky residue, and Leather 'N' Rich will give a long-lasting finish that looks like you just cleaned and conditioned your leather, even months later. It enhances the natural colors of leather to such a degree it's like viewing in high definition. Best of all, you haven't smothered your leather in an acrylic or wax that makes future cleaning or conditioning difficult.
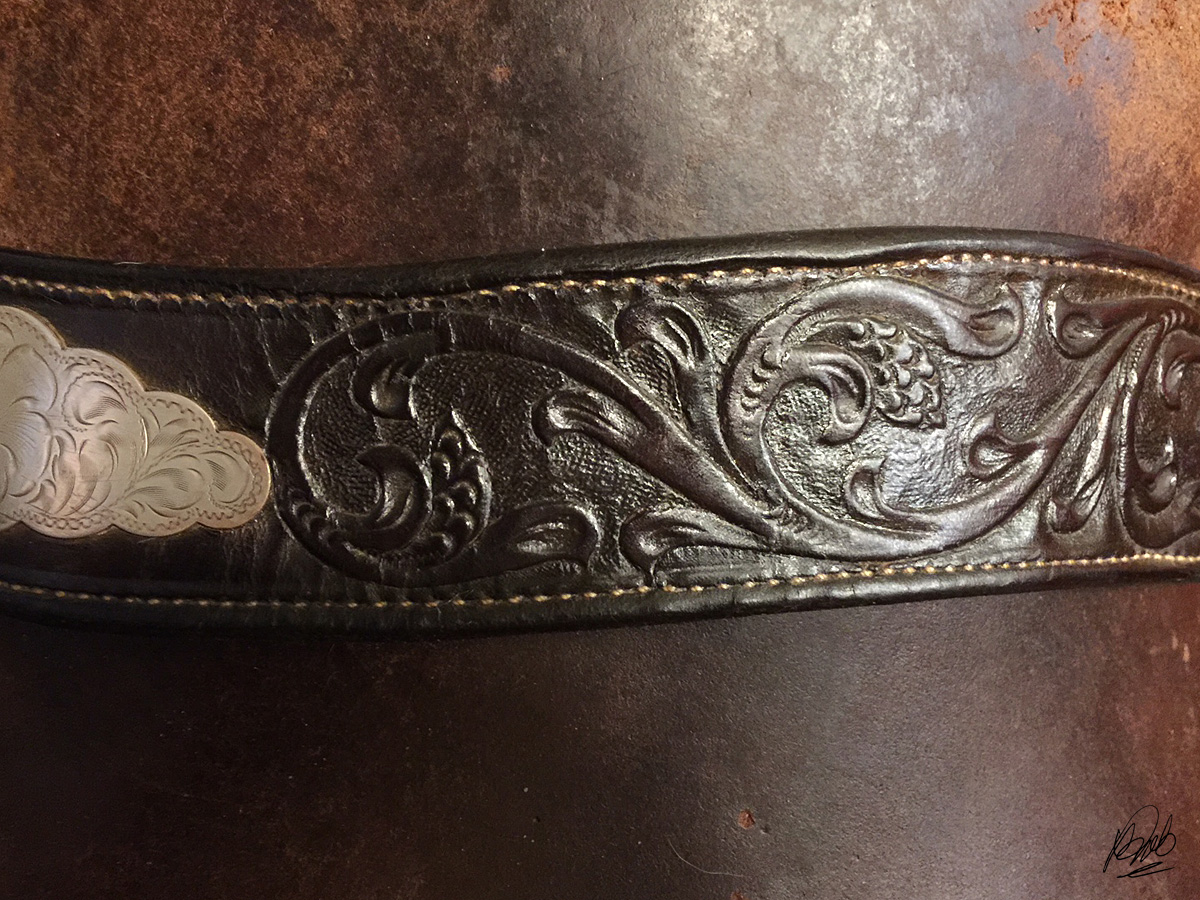
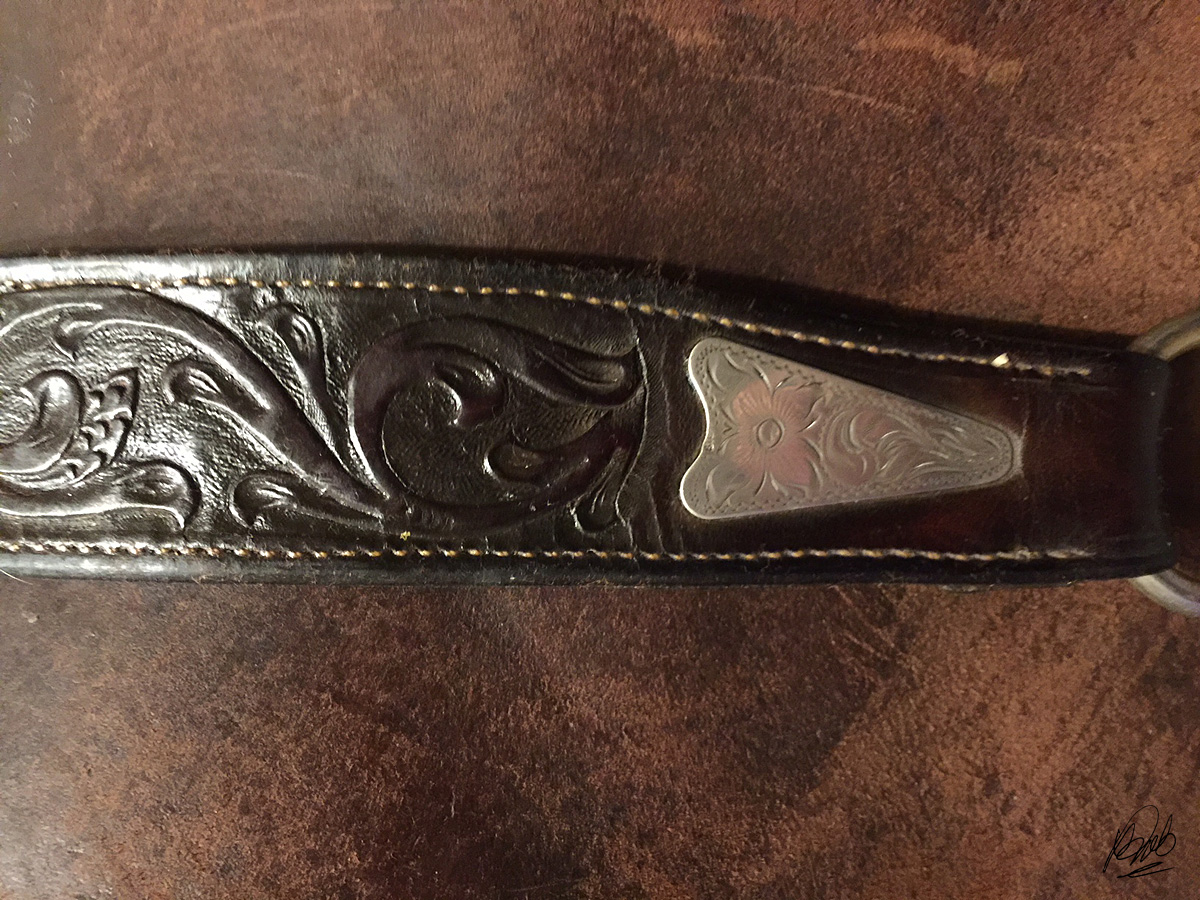
Blackrock Leather 'N' Rich over conditioned leather gives a piece that extra something-something that gives ordinary vintage tack a museum-quality finish that lasts. You can even see the outline of the silver reflected in the leather surrounding it.
Absolutely beautiful. Perfection. "I'm ready for my closeup, Mr. DeMille."

Before: Sad.  /  After: Glowing. A little time well spent.

It took just over 30 minutes total to clean, condition, and make the tired old breast collar sexy again. That's one sitcom or a podcast-worth of time, but what a payoff.
Crosby Equilibrium Refab, Part 3

June 13, 2018
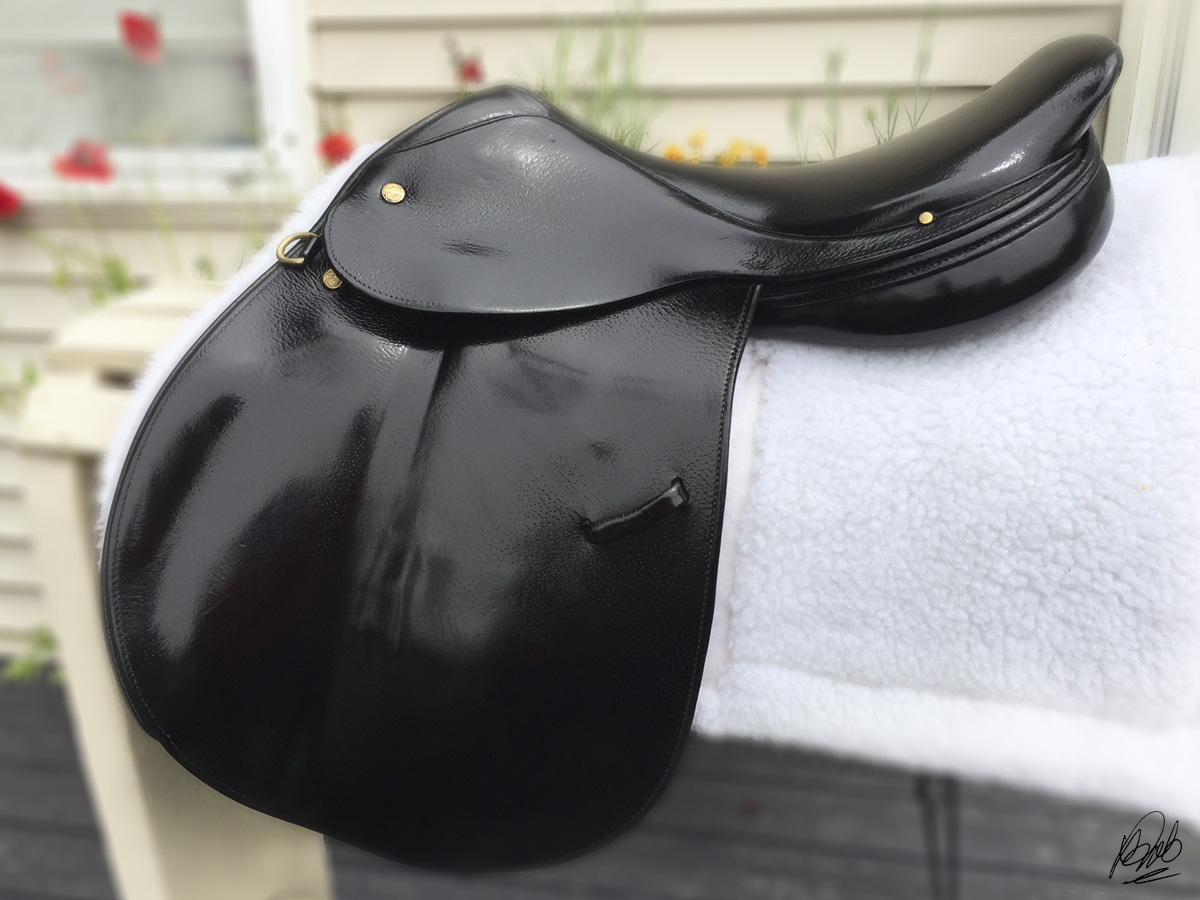
Crosby Equilibrium saddle dyed black
With the Crosby Equilibrium deglazed and prepped for dye, I tarped everything in the proximity of my little project with plastic drop cloths from Dollar Tree. No matter how careful you may be, black dye goes everywhere. I repeat, BLACK DYE GOES EVERYWHERE. If you so much as sneeze tiny black droplets of dye will migrate places black dye should not be: the dog, the dishwasher, your favorite Oriental rug in the next room... Better to tarp now than cry later.

Tarp it like a potential crime scene. Pretend you're going to thwart CSI. Just do it.

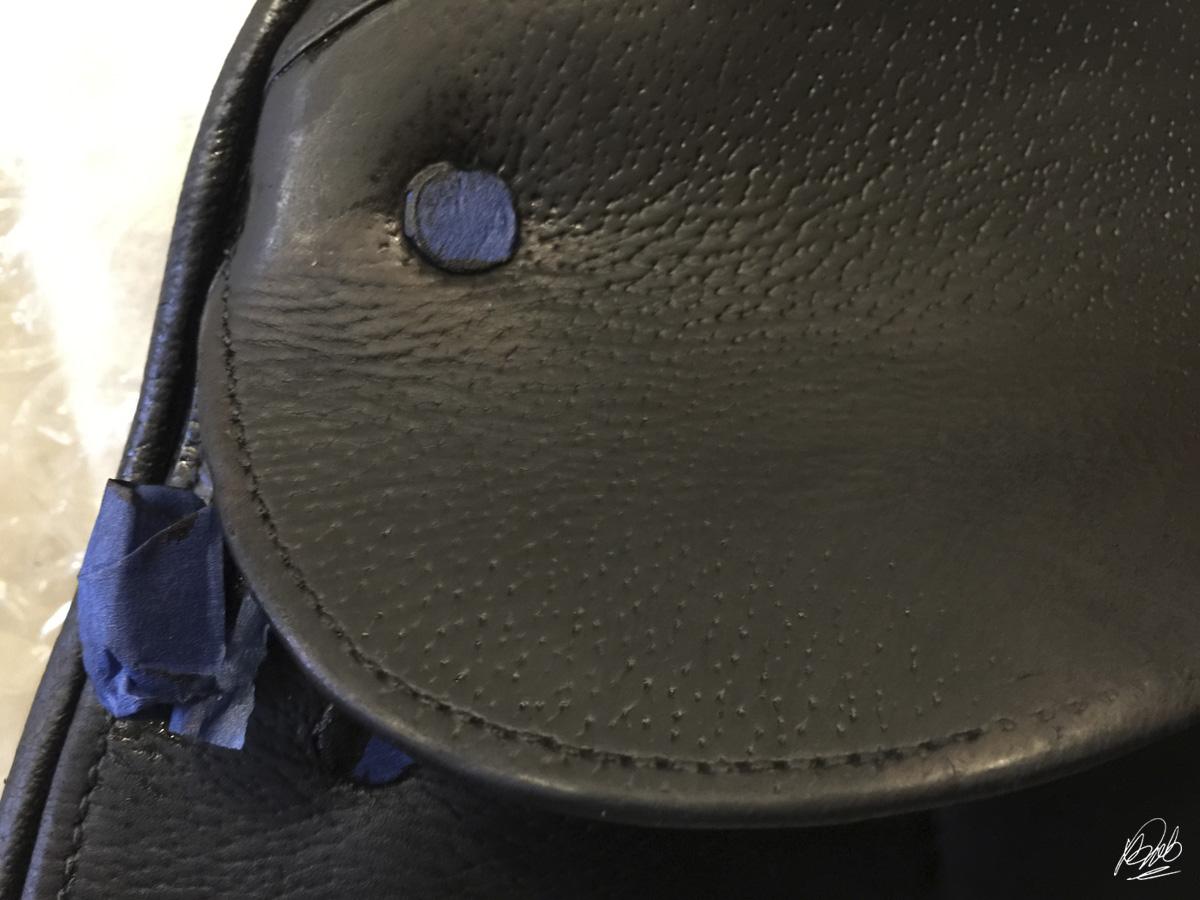
I advocate using painter's tape to protect hardware from permanent dye stains. You can touch up errant dye later with rubbing alcohol or deglazer and a Q-tip.

use painter's tape to protect hardware from dye
I taped off the D rings, nailheads and stirrup bars with painter's tape to avoid permanent stains. I trimmed around the tape on the nailheads with a razor blade, close as possible.

Dyeing the Saddle Black with Oil-Based Dye

I've learned I get better results with basic colors using oil-based dye. With alcohol-based dyes, you often get a green or purple tint, particularly in areas with the heaviest application. With oil based dyes that normally doesn't happen. While oil based dyes are slightly more expensive they're also more economical, since they offer better coverage and superior color to less expensive alcohol-based dyes.

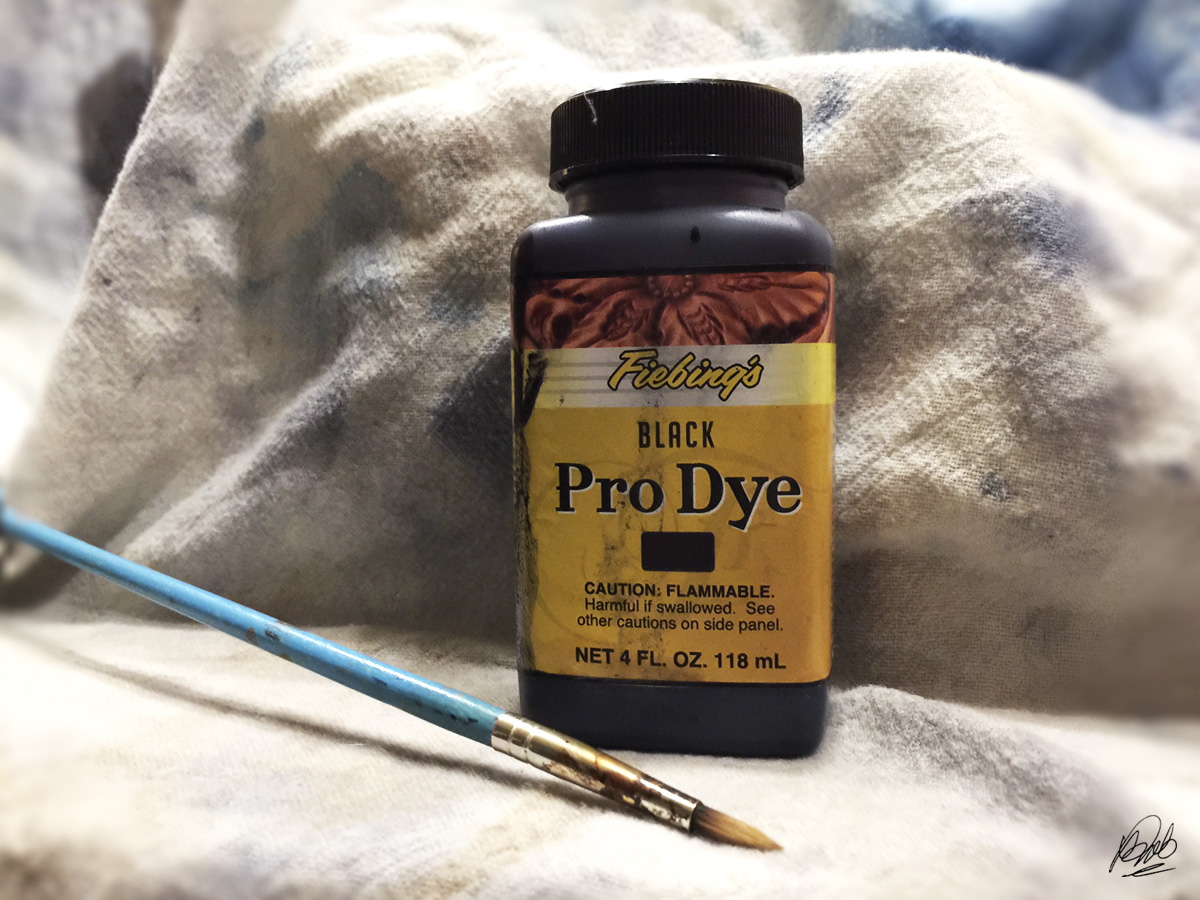
I used tried-and-true Fiebing's Professional Oil Dye in Black. Simple as it gets.

Wearing long latex gloves, I applied the dye with very small rags made from an old polar fleece hoodie. I covered one area at a time with small, circular motions, making sure to rub the dye in thoroughly as I went. The dye penetrates very quickly, so with anything small and simple as most English saddles it isn't a particularly long process.

Fiebing's Pro Dye (oil-based)
Fiebing's Pro Oil-Based Dye and the synthetic artist's brush I use to dye hard-to-reach areas.
In tight areas, like around the stirrup bars and the raised binding, I used a synthetic artist's brush to get in the little crevices. The dye is thin and runny, so coverage in tight spaces is relatively easy - control is the hard part.

I lined a cardboard box with plastic to contain drips while holding the saddle in an inverted position for easier access to the panels. Even so, quite messy. Plastic dropcloths are your friend.

3 coats of black leather dye
Already darkened using vinegaroon, the Crosby Equilibrium flaps and panels still took 3 coats of Fiebing's Professional Oil Dye to achieve a consistent true black color.
I used almost a full 4 ounce bottle of black oil dye to apply 3 coats. Had the saddle not been pre-stained to a dark color, the amount of dye required on its splotchy-colored aged leather would likely been considerably more.

Remove Excess Dye

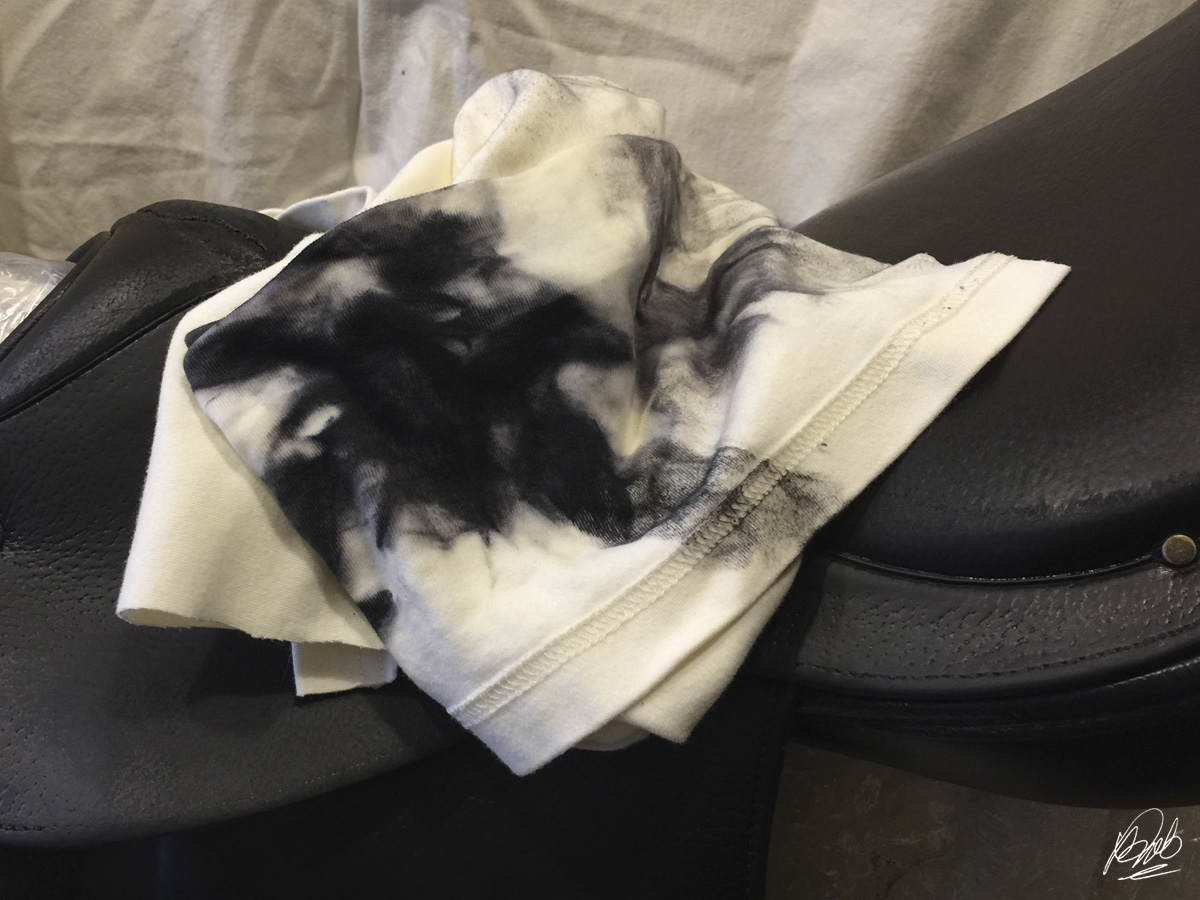
Next, I had to remove the excess dye from the every surface. This required sacrificing multiple white T-shirt rags from my stash, since the black dye ruboff was horrendous. I got each rag just barely damp, rubbed and rubbed, changed rags, rubbed some more, for what seemed like infinity. Actually, I left the saddle on a chair in the kitchen for a day, and every time I walked by I'd grab a rag and start rubbing. This was by no means a single session venture.

rub off excess leather dye
If you're committed to the idea of dyeing old, non-black leather black, expect to invest some time rubbing off excess dye. It will seem endless.
The seat area proved problematic because the black dye had not penetrated the coated leather very well. No matter how much I rubbed, black dye continued to shed in a way that indicated it would be a permanent problem.

Dyeing the Seat

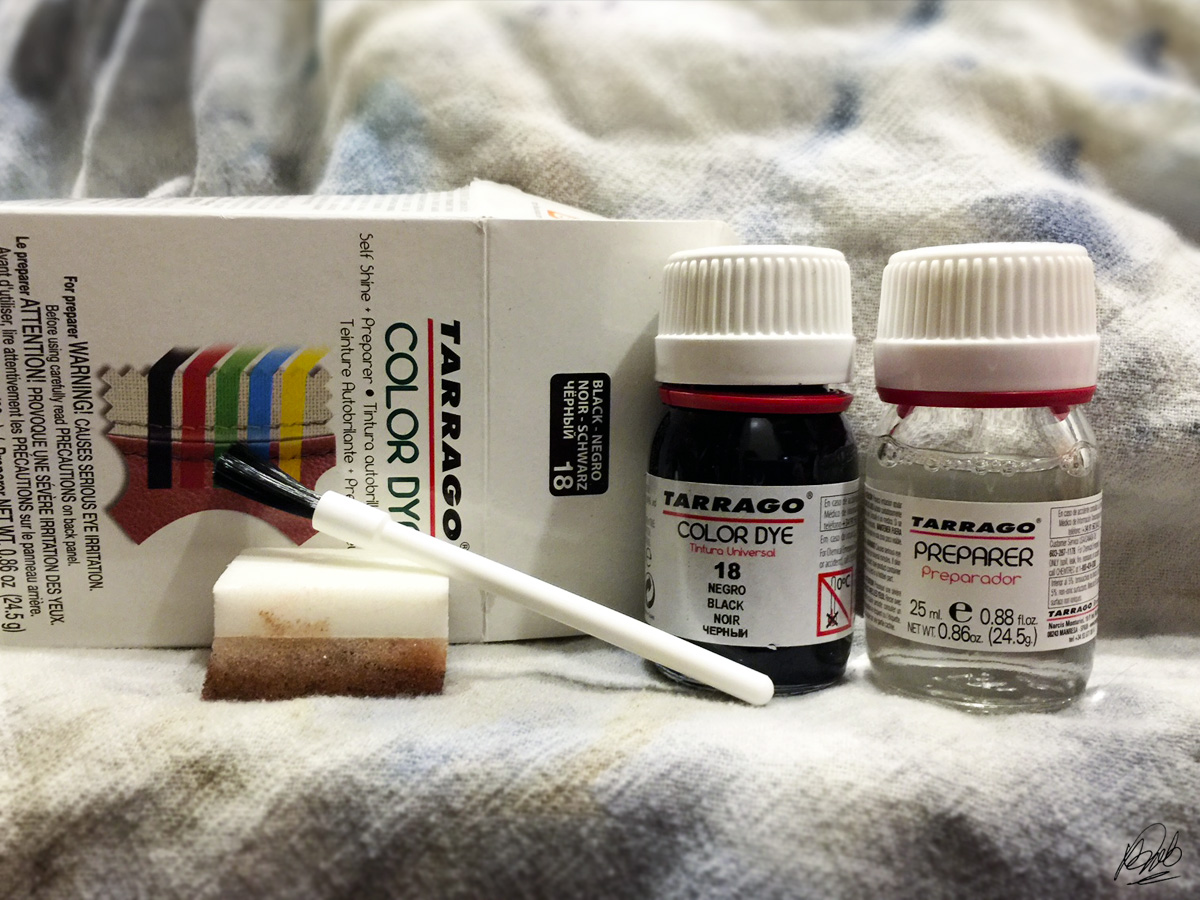
My solution came in the form of  several posts on designer (read: expensive) handbag forums, of all places, about a product called Tarrago Self Shine Color Dye. Supposedly, Tarrago Self Shine Color Dye dye permanently changes any color smooth leather - even black to white. Well, permanent sounded good, and the numerous before and after photos on the handbag forums looked encouraging. With nothing to lose, I ordered a Tarrago Self Shine Color Dye kit in #18 Black. For under $10 you get a boxed kit of dye preparer, a brush, a sponge, and a small bottle of dye.

Tarrago dye kit in black
Tarrago Self Shine Color Dye kit in #18 Black
I wiped the already-dyed seat thoroughly with the kit's dye preparer, let dry, then applied the Tarrago Color Dye in circular motions with the tiny sponge applicator. It could not have been easier, seriously. Though the bottle of dye is very small, it takes very little. I probably only used a total of a couple eye dropper-fulls to cover the seat completely.

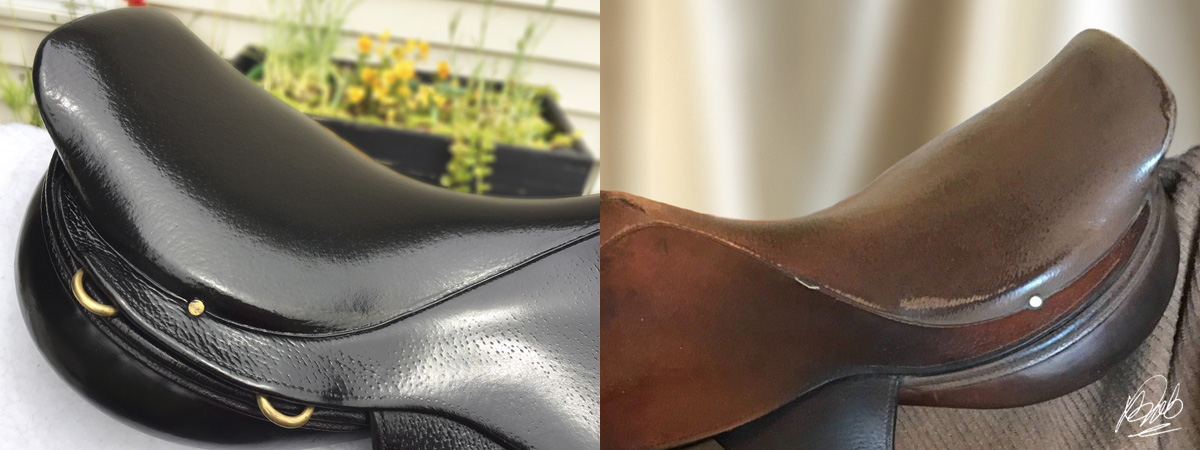
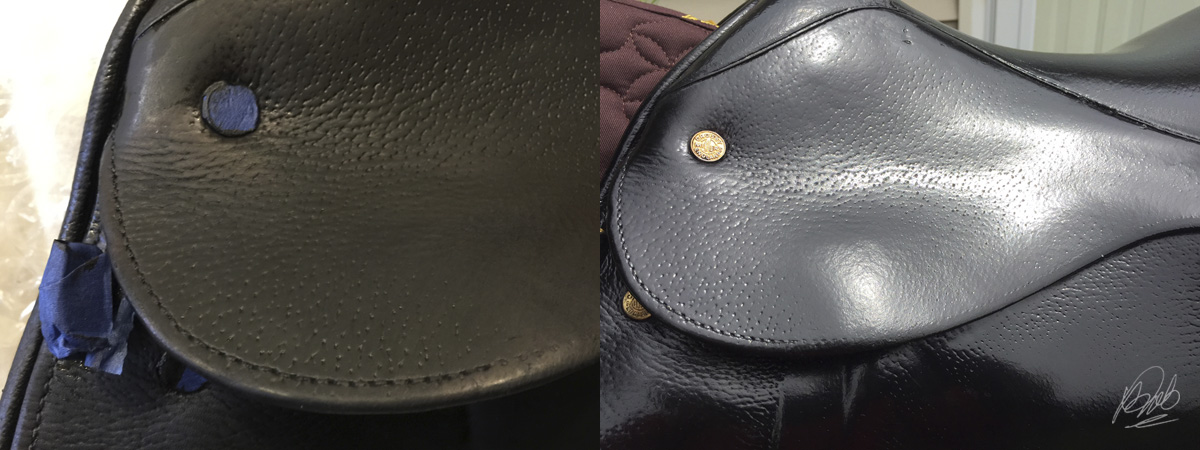
Two coats of Tarrago Self Shine Color Dye later, the seat was a glossy, true black. After allowing 24 hours to dry, the finish felt somewhat plasticy, but would not rub off despite attacking it vigorously with a rag. For that matter, the old seat had felt plasticy, and it had lasted more than 30 years. Regardless, it was a marked improvement over the oil dye finish that had not penetrated the seat leather very well and promised a lifetime of ruboff. Maybe those folks on the handbag forums were on to something!

Tarrago Self Shine Color Dye in Black on saddle seat
Tarrago Self Shine Color Dye (left) and original seat finish (right)
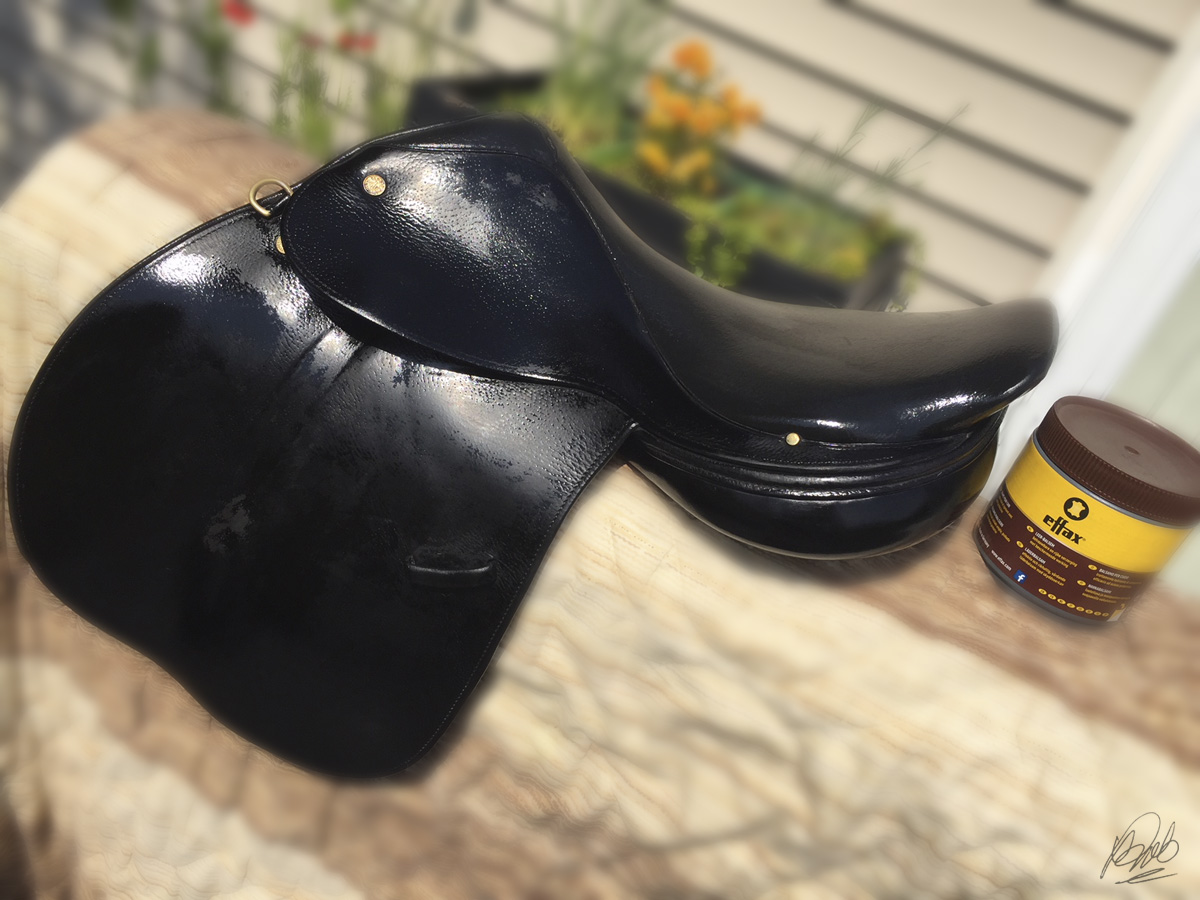
Before sealing the dye job with Resolene clear finish, the saddle needed a deep conditioning. I busted out some heavy duty stuff: Effax Lederbalsam.
Condition Before Resolene

I went at it with Effax, a couple coats rubbed in by hand, and the saddle began to glow with happiness. After 3 coats of oil-based dye plus Effax Lederbalsam, the leather from stem to stern was soft as butter, probably for the first time in years.

treating with Effax Lederbalsam
After rubbing in Effax Lederbalsam, I left the saddle outside in the warm sun to soak it up.
I spent a fair amount of time rubbing the saddle surface clean of excess Effax, as it tends to leave a protective coating that would inhibit the Resolene sealer from bonding. Once the surface felt "clean" to the touch, it was time to apply Resolene.

Seal It With Resolene

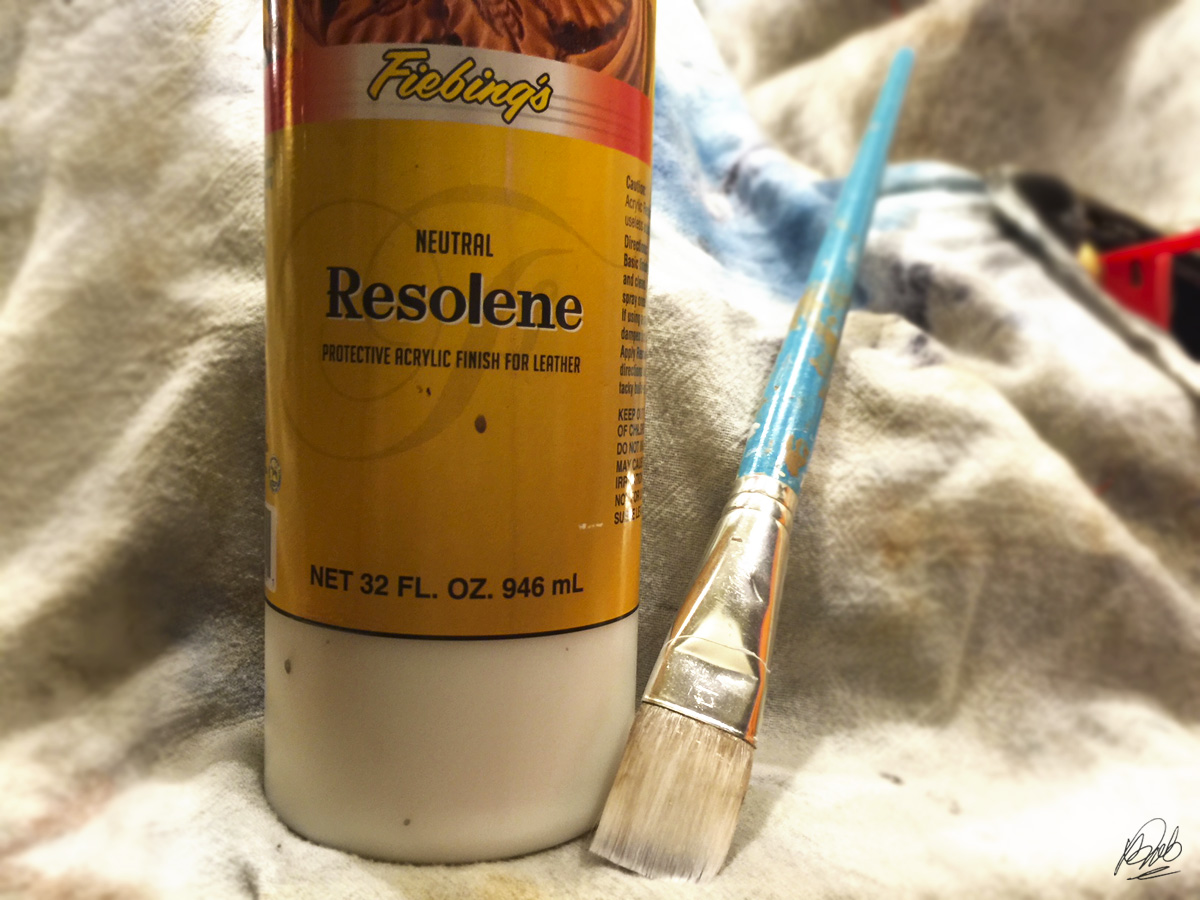
Resolene can be tricky to apply, since it tends to streak as it dries, and light coats will dry quickly at room temperature. I've found using a very soft 1" flat synthetic art brush on saddles works well and makes blending areas easier than a dauber or rag.

Fiebing's Resolene
I apply Resolene to most tack and saddle leather using a very soft 1" acrylic paint brush.
I let the first coat of Resolene dry overnight, then evaluated trouble spots the next day in better lighting. The second coat of Resolene was much more uniform. When the Resolene was completely dry, I was delighted any hint of ruboff was over. Problem solved!


before and after applying Resolene to dyed leather
Compare area without Resolene, dull and gray looking (left), and after (right) Resolene makes the dye color deep, rich and shiny.

Happily Ever After

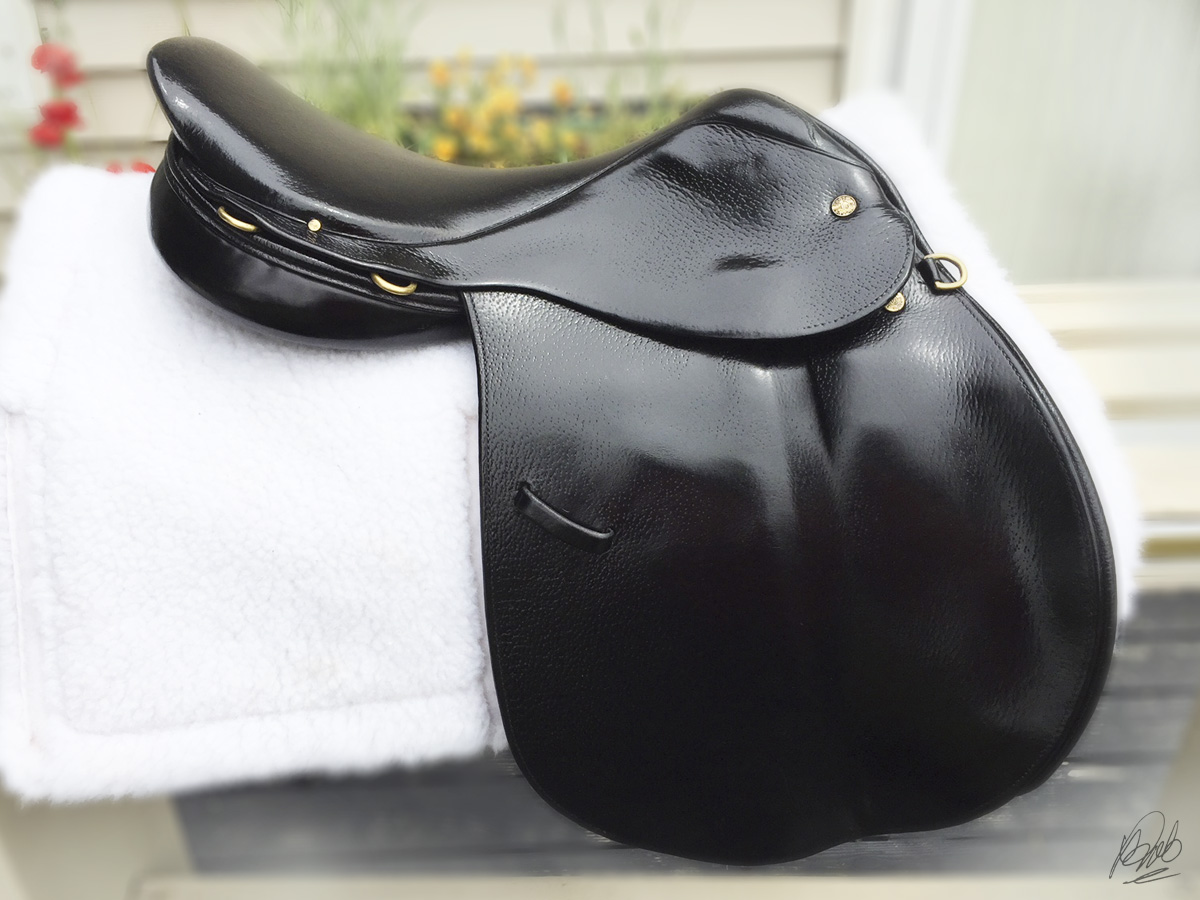
If I had any reservations about dyeing the Crosby Equilibrium black before, I was more than happy with the result. What began as an iconic saddle whose best days appeared to be behind it, ended with a stunning piece of saddlery that glows with new life.

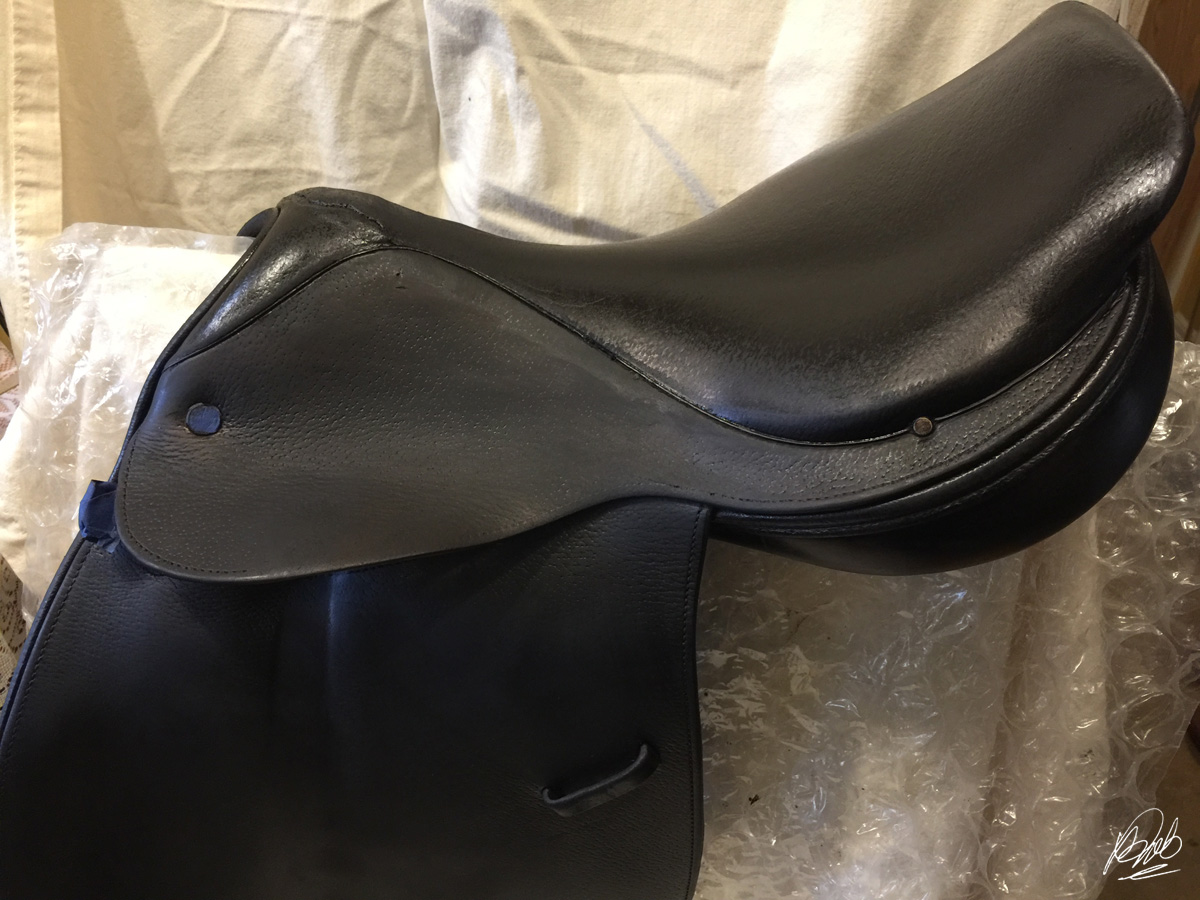
After dyeing the saddle black
After dyeing and applying Resolene the old Crosby is fit and foxy again. Another successful refab!

Crosby Equilibrium saddle dyed black
Pure, true black, and best of all: No ruboff! Even the seat leather dye was stabilized.

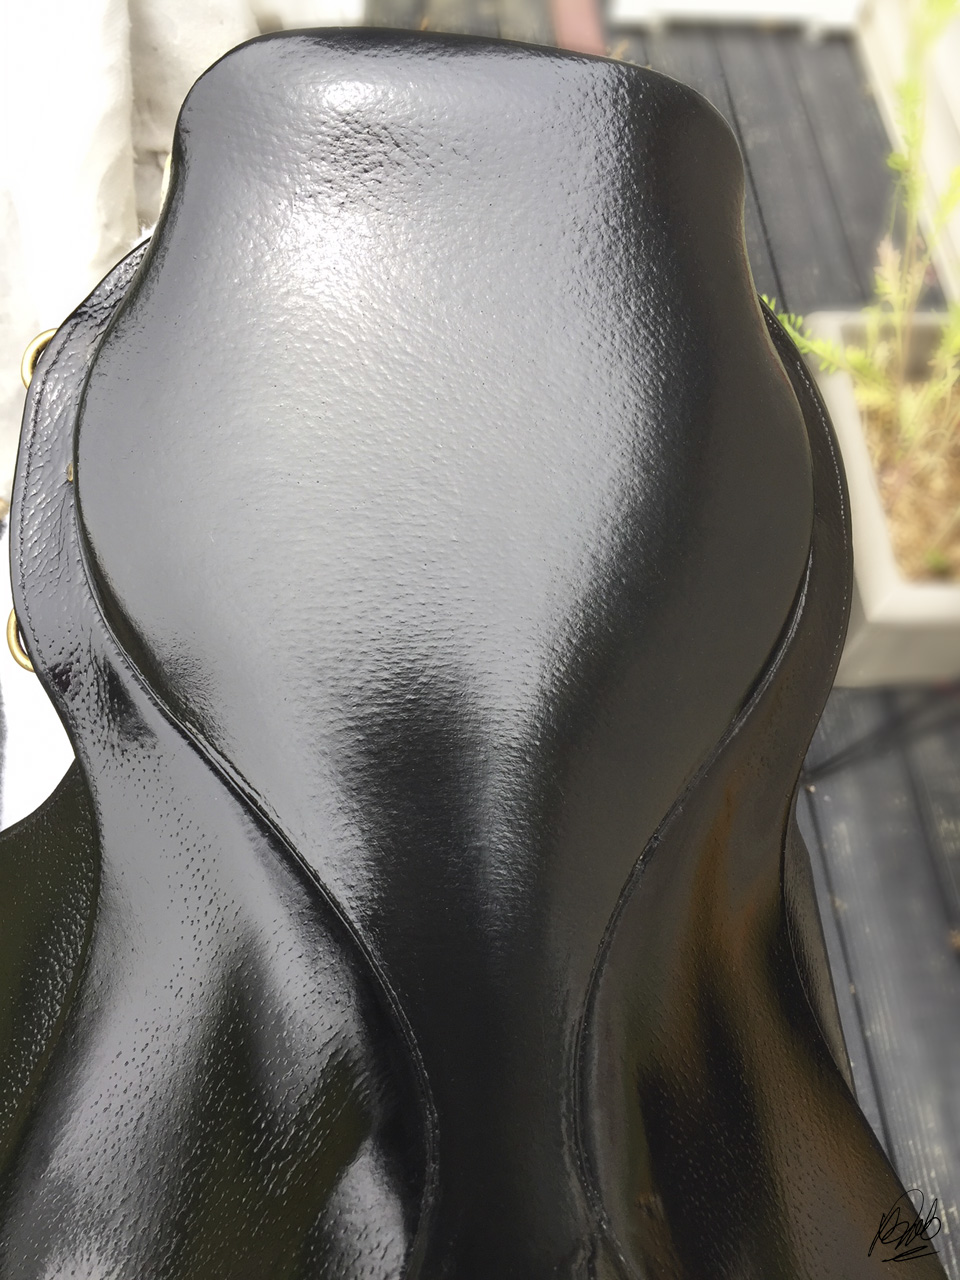
overhead view of seat dyed with Tarrago Self Shine Color Dye
The problem seat leather was dyed with Tarrago Self Shine Color Dye in #18 Black. Time will tell, but the dye appears to have excellent cover and adhesion.
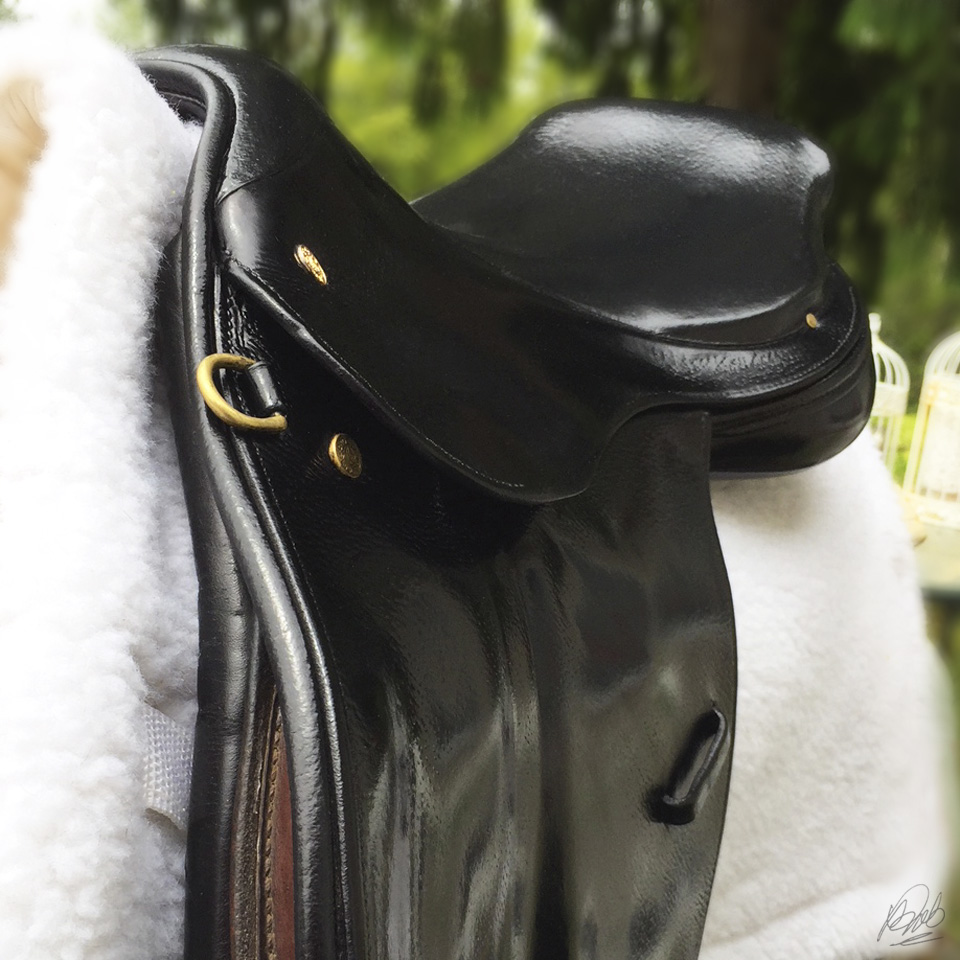
Crosby Equilibrium dyed black
The end result was beautiful, buttery soft, conditioned leather. A little TLC (and assistance from reliable products!) goes a long way.


Crosby Equilibrium Refab, Part 2

May 29, 2018
dyeing saddle leather black
I decided to dye my vintage Crosby Equilibrium saddle black. I warmed up to the idea after refabbing a vintage Courbette Stylist that was originally black, but the color had faded. For a gal that lives life in a thousand shades of brown, I thought the rich, low gloss of the black Stylist was lovely.

There's a big difference between adding color back to a saddle that was originally black compared to one that was not. In one case, you're matching an existing color, where the leather was dyed through-and-through black. In the case of the brown Crosby, it was never anything close to black in its heyday. Most likely, the Crosby Equilibrium was originally London Tan or Newmarket, if the plasticy finish on the seat was any indication.

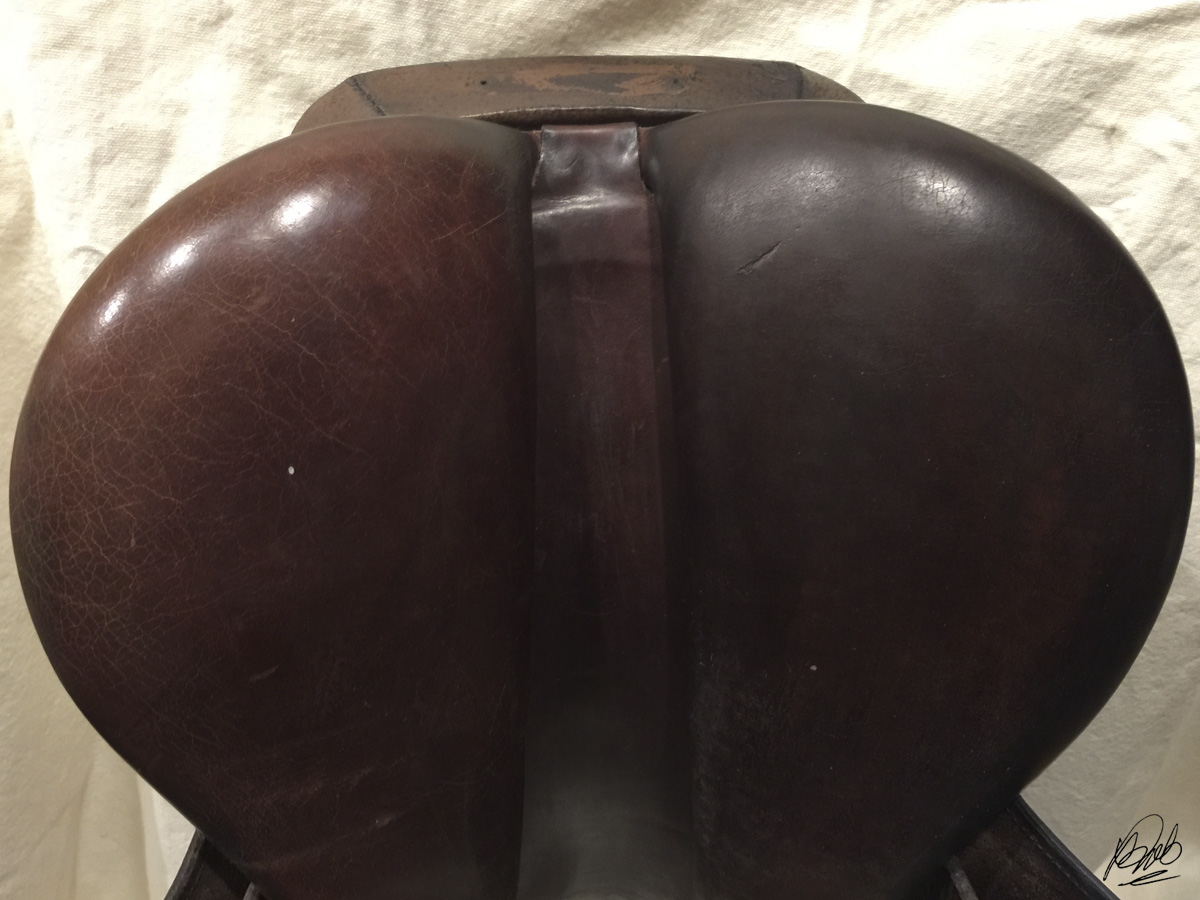
mystery coating over leather seat
Whatever coating Crosby used on some of their old seat leather, it was certainly durable. It laughs in the face of deglazer.
The Crosby had a mystery coating on the seat. It came from the factory that way. While some of the coating had rubbed away over the years, there were still large areas where the coating was very much intact. As for longevity, that stuff is practically bulletproof. As for aesthetics after 30-some years, it's dreadful. A traditional penetrating dye would not penetrate, so I had to find a coating that would cover the old completely but not rub off.

Hey, if Crosby did it during the Cretaceous period, why couldn't I?

Stripping the Old Finish

No matter if you're restoring an existing color with dye, or changing colors completely, the first step is to remove the old finish. The most common product for this is called deglazer, made especially for smooth leather. Deglazer also dissolves old coatings, soaps and oils that would inhibit dye from penetrating evenly.

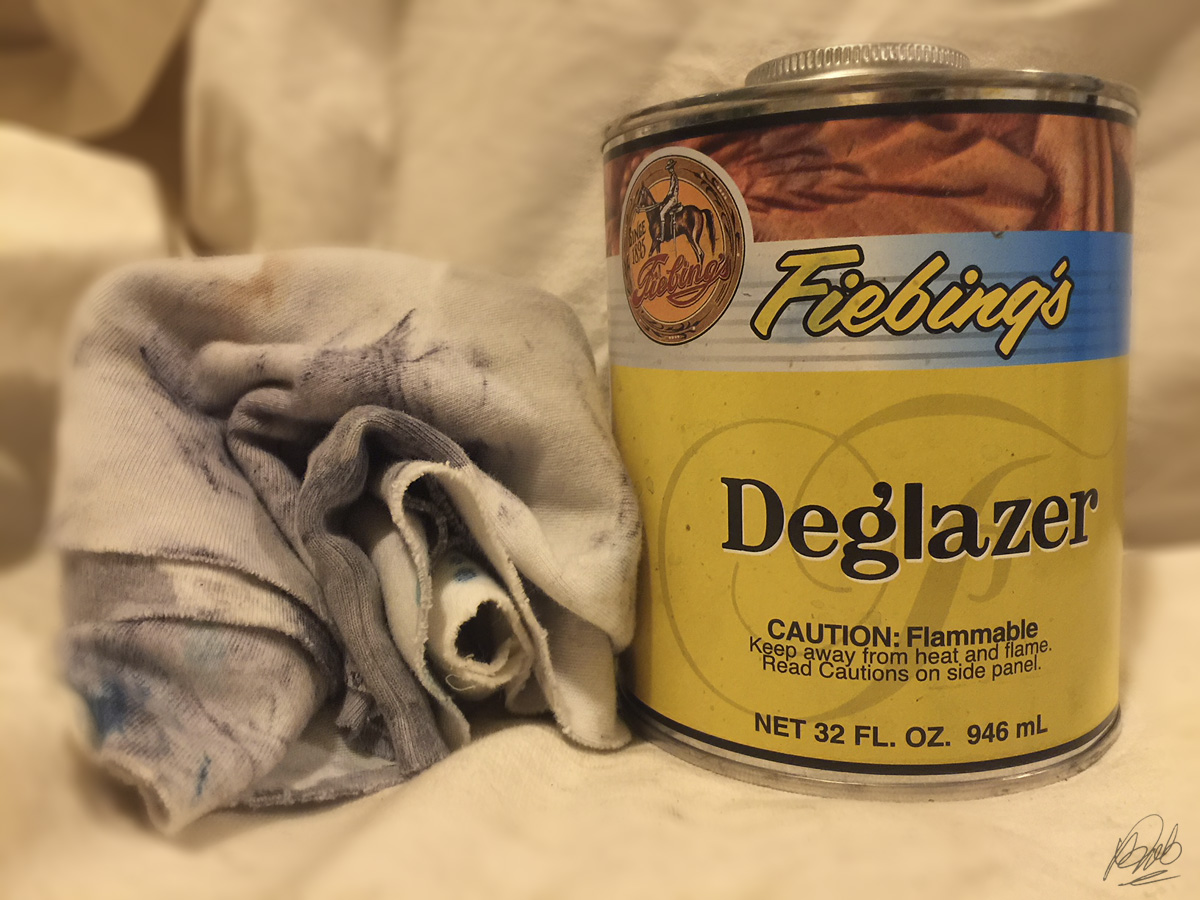
Fiebing's Deglazer with natural cotton rag
I apply Fiebing's Deglazer with a pure cotton rag. I purchase the larger economy size, but it's also available in 4 ounce bottles for smaller projects.
I use a lot of deglazer. By that, I mean I use it, then use it some more. I give everything a thorough rubdown with a nappy microfiber cloth in between deglazer applications to eliminate any hidden buildup of deglazer residue. That said, microfiber cloths are synthetic, and should not be used anywhere deglazer is still wet and active, or they may literally melt.

Especially in areas under the stirrup leathers or a seat that's been worn smooth from hard use, I use deglazer to open up leather fibers that have become compressed/tight/smooth and consequently more difficult to dye. Those areas typically take a few applications of deglazer.

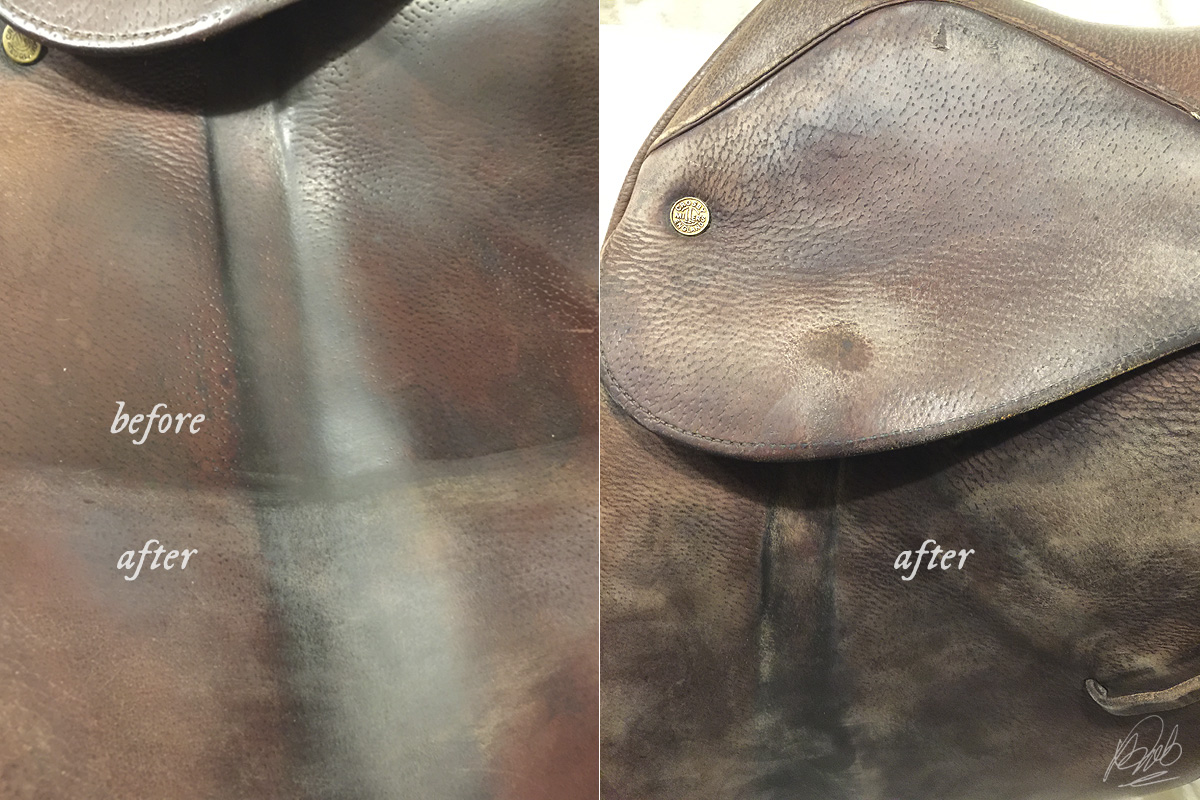
deglazed saddle leather
A couple more sessions with deglazer, and it looks like a huge mistake that can never be salvaged.
Once the leather is stripped, dry and parched looking from deglazer, the fun starts. Or tears, depending.

Base Coat of Black with Vinegaroon

Before dyeing, I wanted to put down a base color of "black" using using vinegaroon. Vinegaroon works by reacting with the natural tannins in the leather, turning the leather darker. Ideally, it turns the leather black, but results vary from gray to dark brown to black depending on the type of leather, the original leather color, the strength of the vinegaroon, and how completely the vinegaroon can penetrate. One of the biggest benefits of vinegaroon over traditional dyes is it colors the leather from the inside out, meaning it's permanent and does not rub off.


Frankly, vinegaroon works best on untreated, natural leather, or leather that was black to begin with. Old saddle leather isn't always the best candidate for vinegaroon because it may already contain dyes and oils that prevent a complete color change. I had removed so much of the old finish on the Crosby with deglazer I felt vinegaroon could deepen my target true black color. I did not expect it to turn black with vinegaroon alone.

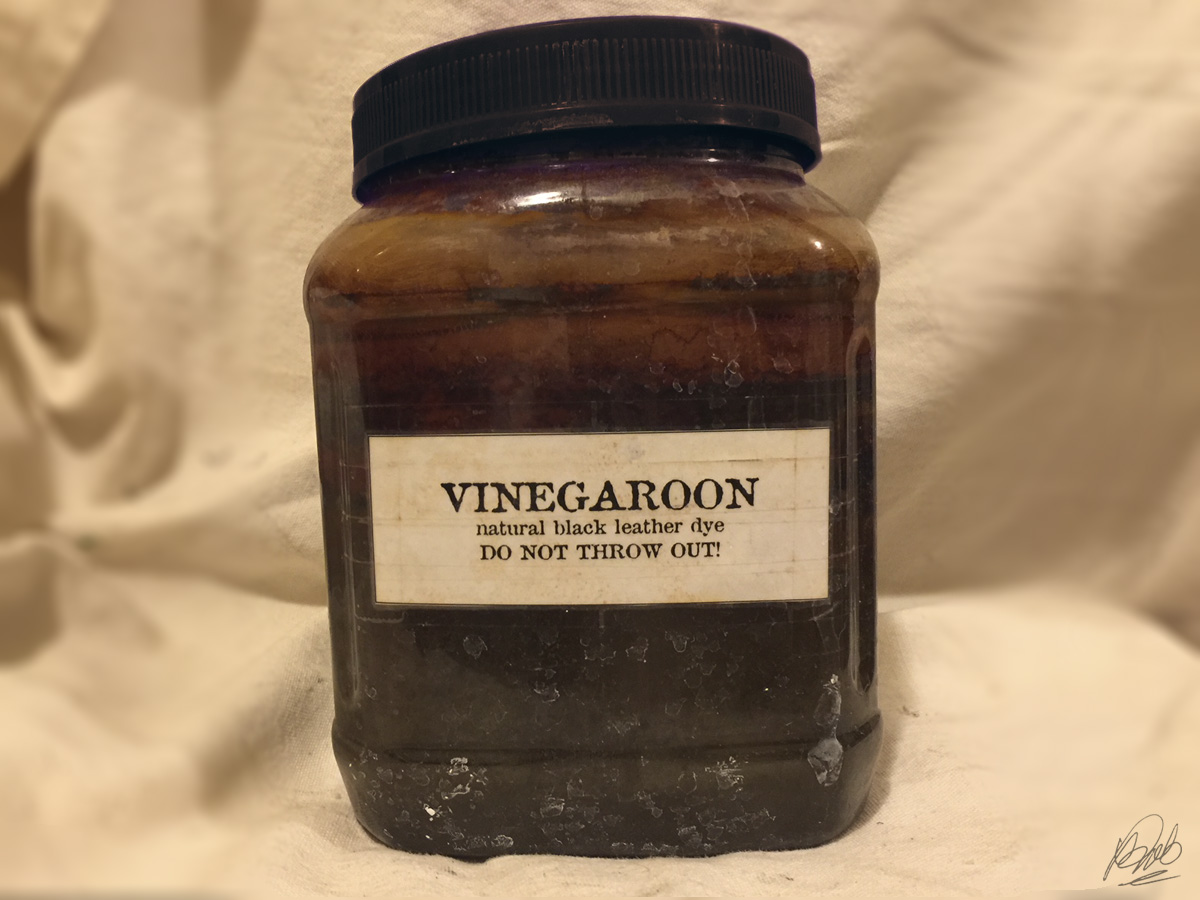
vinegaroon in plastic jug
I keep homemade vinegaroon under the sink with a little disclaimer not to throw out, despite its nasty appearance!
I applied the vinegaroon with an old cotton T shirt, working in small circles and rubbing in completely. The color change only takes a few minutes, so you can see lighter areas that might need another application.

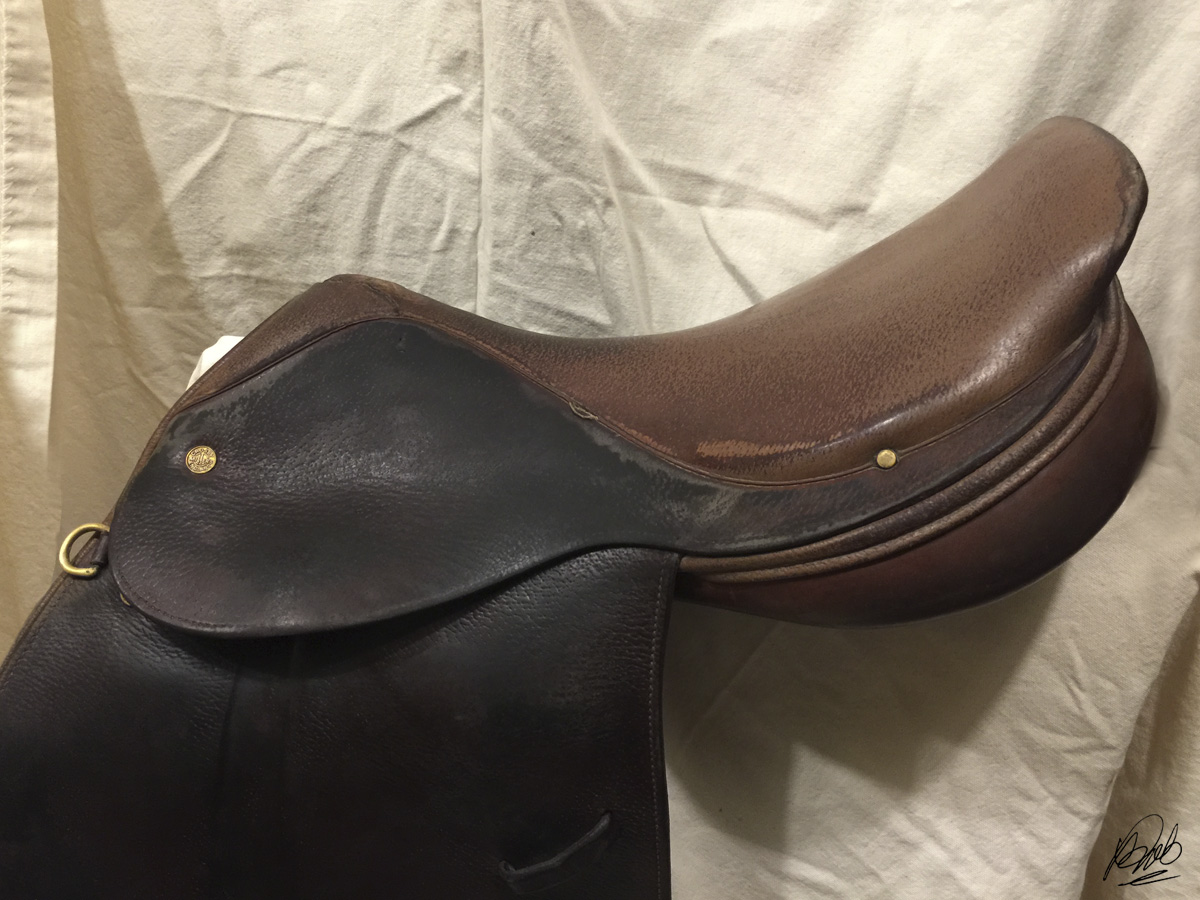
saddle panel treated with vinegaroon
Left panel deglazed only. Right panel deglazed, then darkened with first application of vinegaroon.

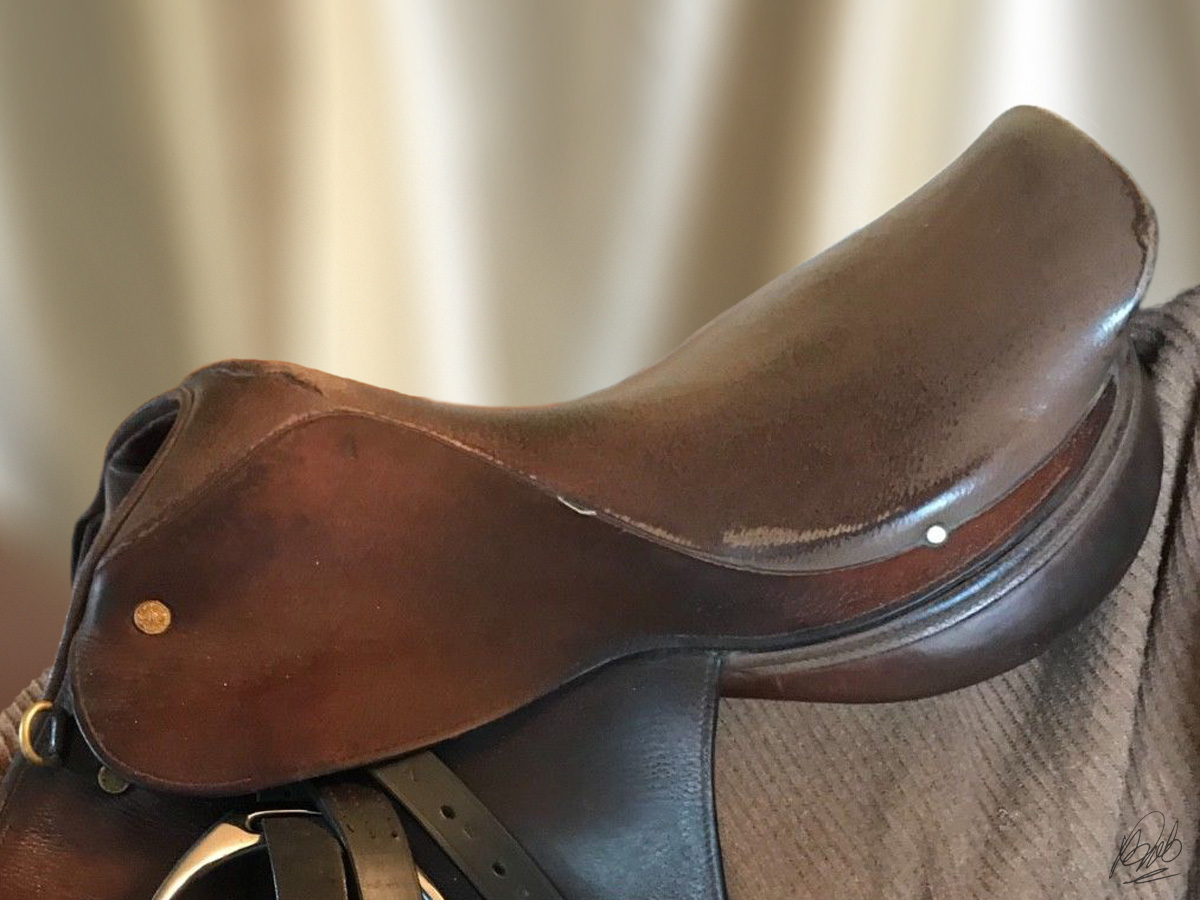
vinegaroon applied to saddle flaps
As a base for blackest blacks, vinegaroon is the bomb! The color change with vinegaroon only takes a matter of minutes. The flaps and skirts accepted the color change well, but the seat was impervious to any color change whatsoever.
After 3 coats of vinegaroon I achieved maximum color change. After that, a fourth coat did not offer any darker/blacker color.

Eventually, the vinegaroon turned the a fairly uniform near-black color. This would have taken several days and coats of traditional black dye to accomplish, with all kinds of buildup that would inevitably result in years and years of rub-off.

Neutralize After Vinegaroon

After the final application of vinegaroon everything gets bathed in a solution of baking soda dissolved in water to neutralize the vinegar chemical action and reduce the offensive vinegar odor. Afterwards, rinse, rinse, and rinse some more with clean water.

With the vinegaroon neutralized and the leather rinsed clean, I left the saddle to dry completely 24 hours before going to the chemical leather dye step.

Crosby Equilibrium Refab, Part 1

May 15, 2018
Crosby Tad Coffin Equilibrium
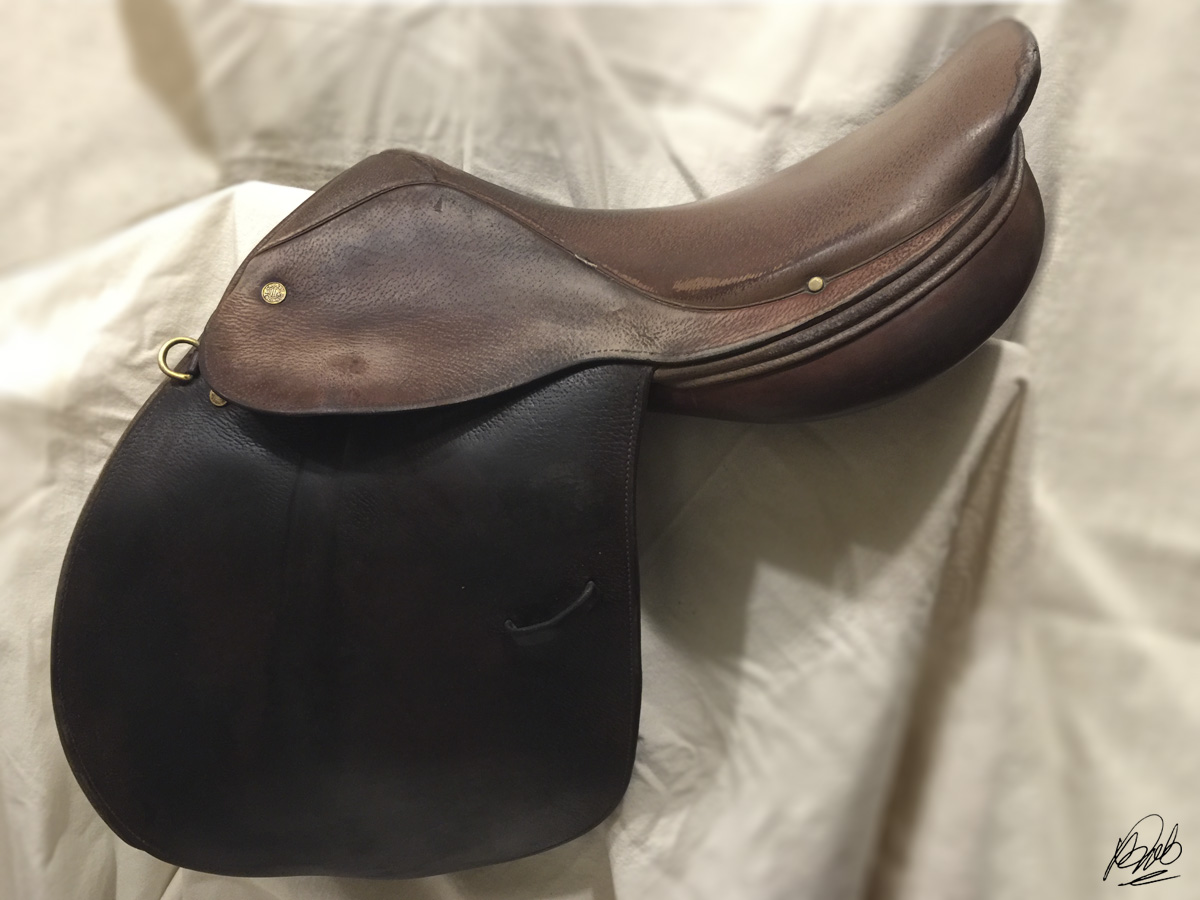
Mark this off my bucket list, I scored a vintage Crosby Tad Coffin Equilibrium. A battle-scarred, well-loved veteran, this little vixen needs some TLC.
In the late 80s [Tad Coffin] developed another best seller for Millers, the Equilibrium close contact saddle, also manufactured by Crosby. - https://www.tadcoffinsaddles.com/about/
Unlike so many old Crosbys, this invocation of the Equilibrium featured flatter, wider panels and shorter points on the tree, so while the channel isn't considered wide, even the medium tree fits a surprising range of horses. Indeed, it's one of those saddles that "fits just about anything you put it on."

There were several variations to the Equilibrium over the years. Some had no knee roll, some had padded flaps and a pencil roll, some had extended flaps. Mine has the standard flap, a small knee block and no knee roll, which is what I was looking for.

While the seat isn't particularly deep, it's very comfortable. It features the sickly, flesh-colored coating found on many old Crosbys.
While the seat isn't particularly deep, it's wider, slightly padded, with a narrow twist, making it infinitely more comfortable for fat bums like mine. Compared to the narrow, rock-hard, banana seats of many vintage close contact saddles, the Equilibrium (Eq) is a slice of heaven. While it might not satisfy a masochistic purist hailing from the Iron Butt Reitschule (Nein! Nein! Nein! We didn't need padded seats! We didn't have knee rolls!) that were berated mercilessly by their trainers whilst bleeding from their knees, I like it.

I'm old. I've already bled from the knees. I wear reading glasses and have arthritis. I'm over a lot of that purist shit where a minimal level of comfort is preferable.

I really don't know how old this Crosby is, but it is stamped on the underpanel: 3 5 3373. Anymore, I don't know where to find reliable information on the older Crosbys online. Maybe a crusty old saddler from Walsall would know.

While I wouldn't say this saddle was babied over the years, it wasn't neglected to the point it's unsalvageable and a bunch of expensive things need replacement. The leather quality is what you would expect from an old Crosby. There's a subtle grain on the flaps, the panels are smooth and uniform, but this critter did not suffer a lot of the cracking often seen on Crosby panels and seats. In fact, its panels are soft as butter.

cracked Crosby panels
You will find a lot of Crosbys have cracked panels (above). The panels on my Equilibrium are still soft and smooth. Photo: Google images
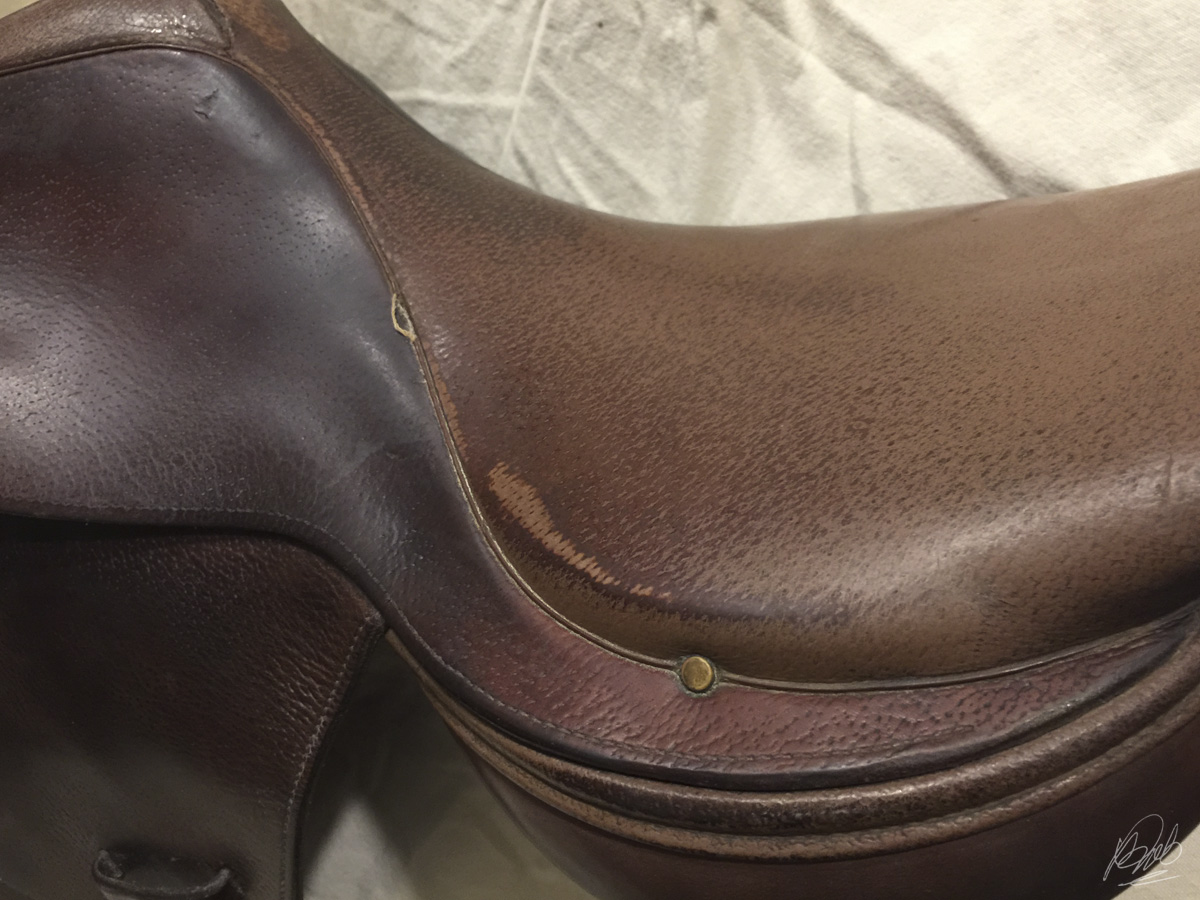
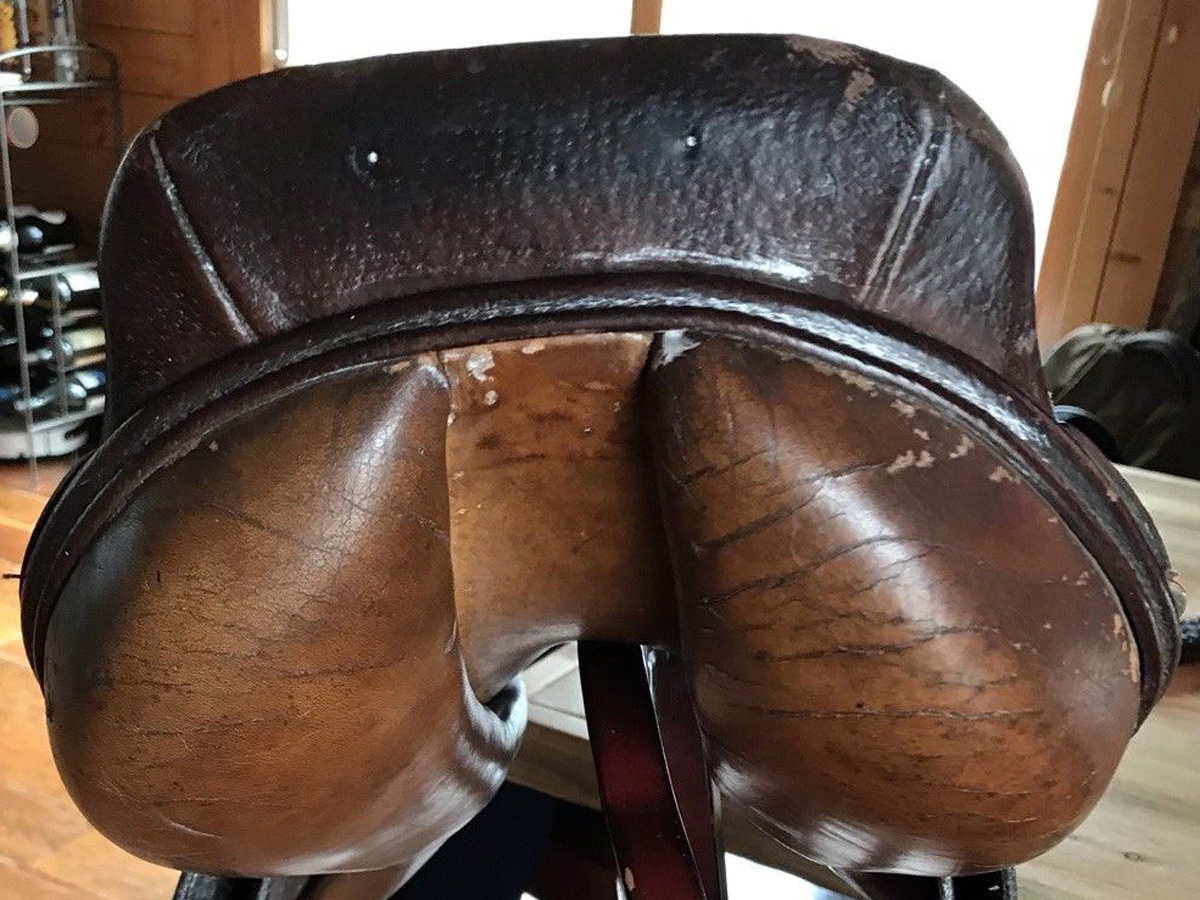
The seat, unfortunately, was the typical faux pigskin grain with some impregnated coating that turns a sickly pallor over the years. That coating protected the seat from wear, but forms a nearly impenetrable layer that thwarts efforts to re-dye or restore with the usual arsenal of leather treatments.

At some point, the seat either split or was damaged near the pommel, and was glued down to prevent further tearing. While it's unattractive and affects its resale value, it's a very secure repair that isn't going to deteriorate or affect its usefulness. It's also in a location it won't be felt while riding unless you're offloading, headfirst. Personally, I'm meh about the repair, though YMMV.

damaged pommel repair
Frankenpommel, I still love you.
What does my Crosby Equilibrium need to be fit and foxy again?
    1. Left panel re-attached to the underpanel
    2. Could use new billets in the near future, okay as is
    3. Deglazer to completely remove old finish
    4. Re-dye with stable, rub-proof, color

Number 4 is a kicker. With the weird coating on the seat, it's going to require another similar coating to completely cover, yet remain stable. Stable, as in: I don't want dye to rub off on my breeches/jeans/rear end for the next five years. I don't want the finish to peel and erode to show the original coating color underneath. I'll probably have to experiment a little bit to find something close to bulletproof.

I like to call that "guessing."

If you assume all the best leatherworkers share such information, think again. If you go to your local Tandy store, chances are nobody's going to know what you're even talking about, let alone have any problem solvers you can purchase. The hardtimers that could probably offer real advice guard their trade secrets like Colonel Sanders. Others will straight up tell you it can't be done before you even finish sharing the details of what you're attempting.

Saddle makers. Capriola Saddlery, Elko, Nevada
These guys? Probably not going to tell you how to fix coated Crosby seat leather.
These people want to kill your dreams. I like to call them Dreamkillers.

They're cranky and stubborn and apathetic and don't give a rat's ass about your old, unfashionable, near-worthless English saddle you want to dye [enter color name].

Piss on 'em.

Make your own path.

Follow your own star.

Dare to fail spectacularly.

I didn't learn what I know because I was deterred by people who told me I was unqualified to try it, much less do it. I learned by trying, doing, and sometimes failing. For any newbies that are easily discouraged, don't let those grumpy old farts scare you. (Besides, they ain't so tough when you rub Bengay in their eyes.//)

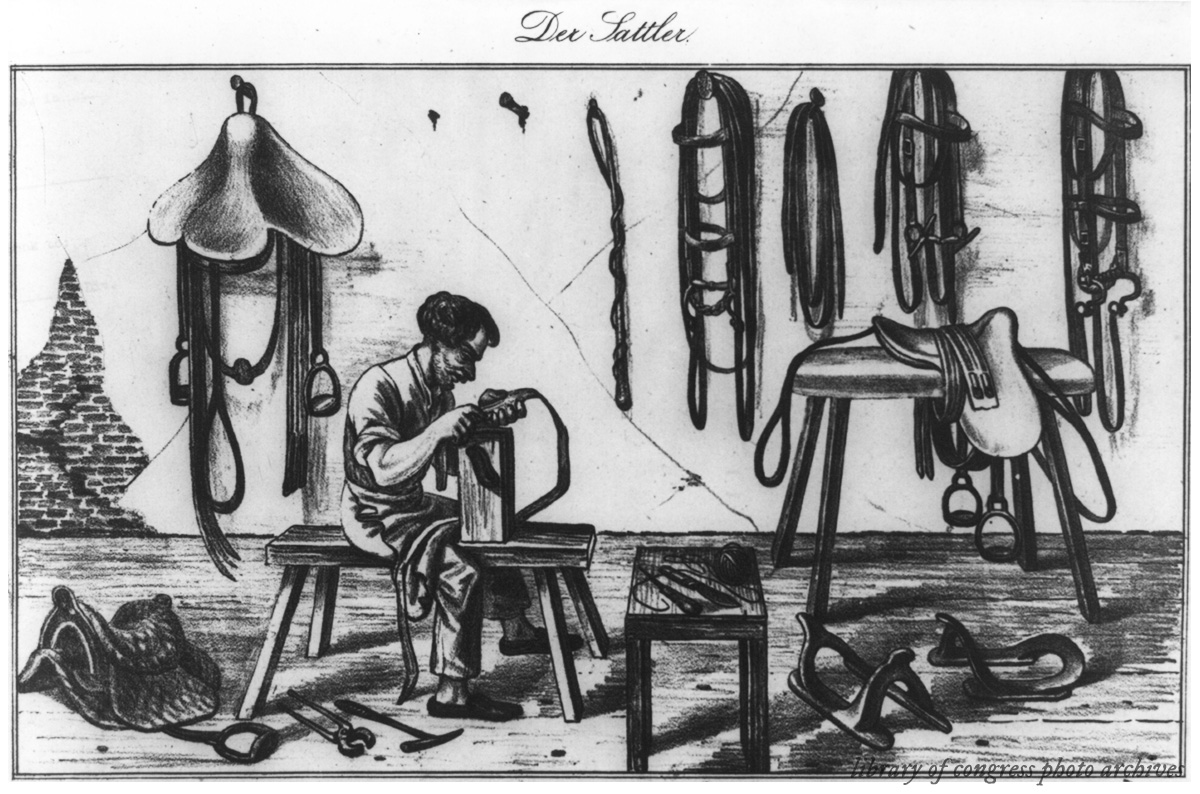
Der Sattler
This grumpy old German guy isn't going to spill his guts, either. Seriously, you're on your own.
The seat on that Crosby is going to be dyed.

As far as the flaps and panels go, those are not coated, but they are a very tight-grained leather. Typically, once the flaps have worn smooth, it's hard to get dye to penetrate uniformly because the grain is more like glass than leather. Because it's difficult to get the dye to penetrate, you can expect a lot of rub-off with most go-to leather dyes.

For the record, nobody likes rub-off. Rub-off: ick, bluck, nasty, undesirable.

What about just oiling it darker? To make for an even color, it'll take a bucket of oil, and then I'm left with a splotchy, greasy, limp saddle. No, my plans for this very traditional saddle are less conventional.

I'm dyeing this baby black.

Yes, a black hunter/jumper saddle. An old-as-dirt, not fashionable, not French, not expensive, H/J saddle.

But, but, but… judges won't like it! Nobody rides HUS in black saddles! Ummm... who cares? If I was a player showing at Devon or the Wellington winter circuit, maybe that would be a consideration. And even if I was, so what? (Maybe that would make me a trendsetter.) Hey, if heels up and heads down and posting to the canter doesn't bother anyone, I don't think a black H/J saddle is any kind of deal killer for my piddling around in old folks' ammy equitation classes.

Black it shall be.


My Instagram

Copyright © The Brown Rider. Custom template by OddThemes